You've Reached the Center of the Internet
It's a blog
Walnut and Oak Coffee Grinder
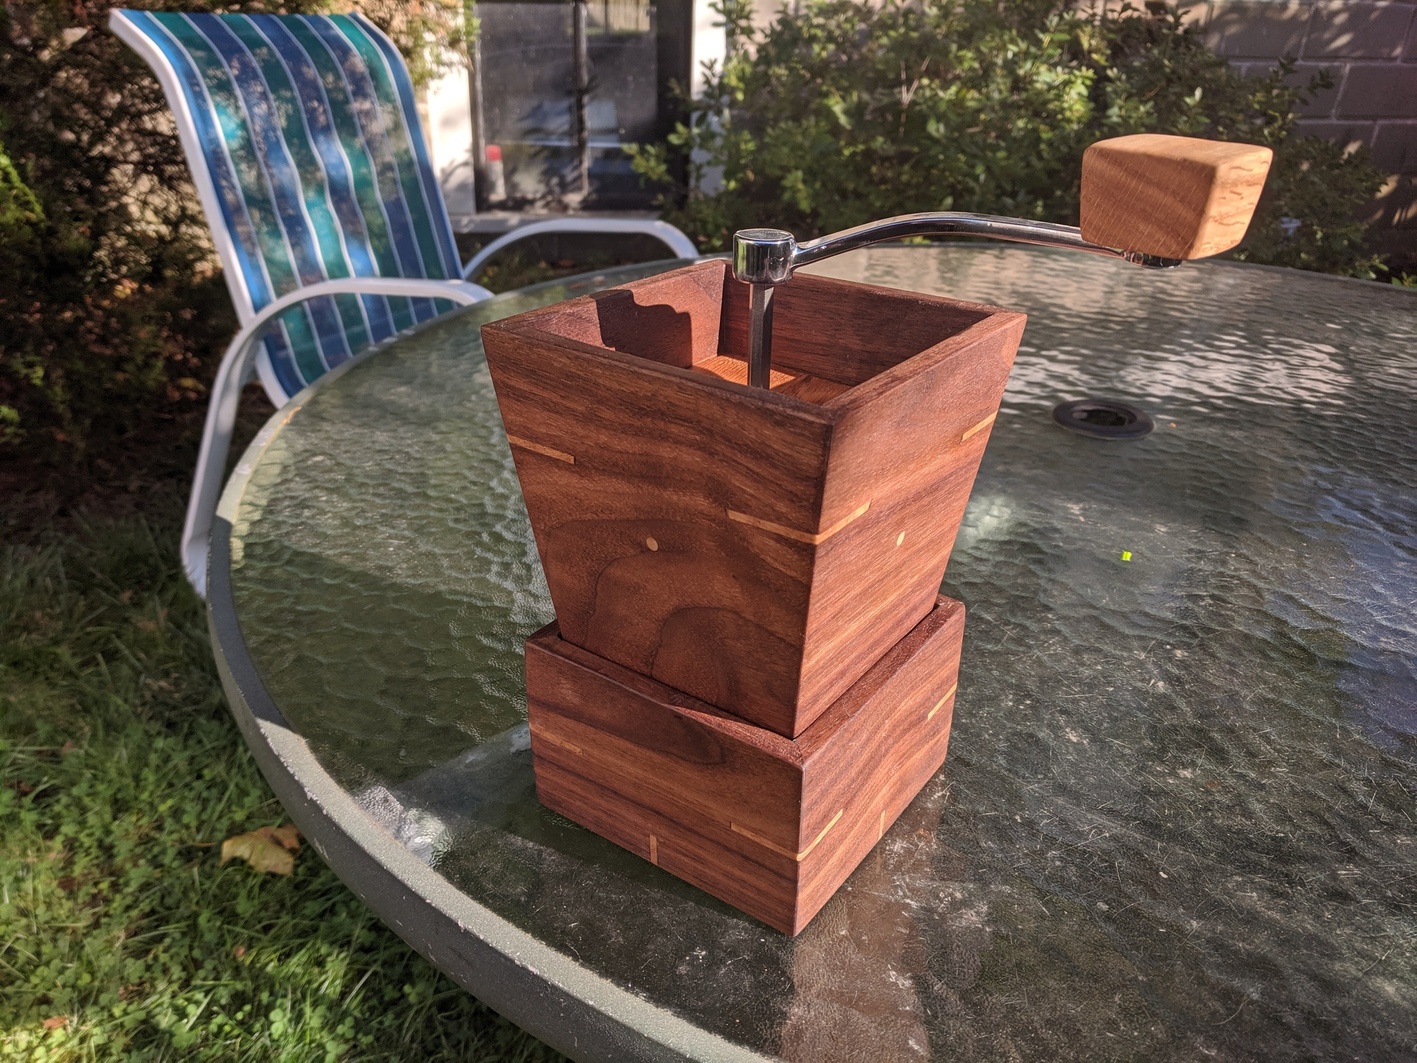
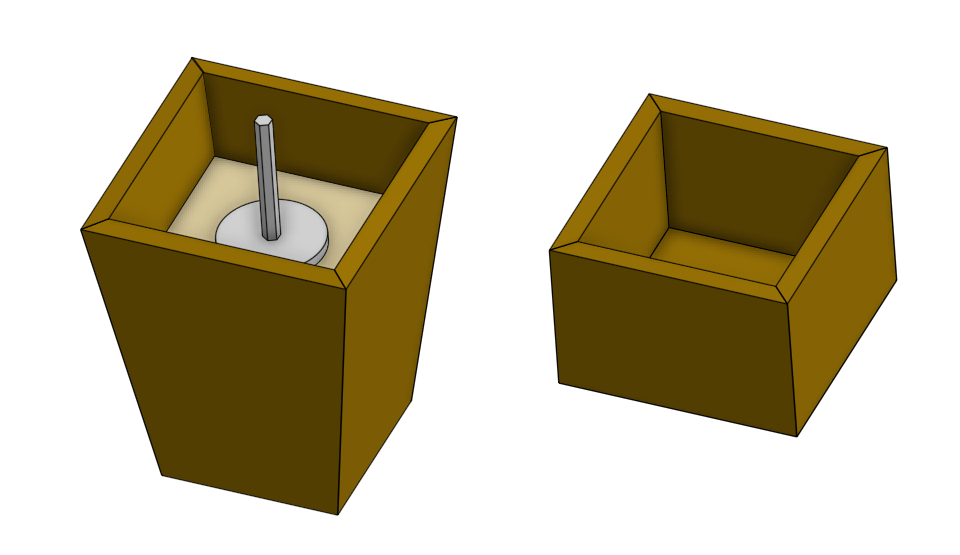
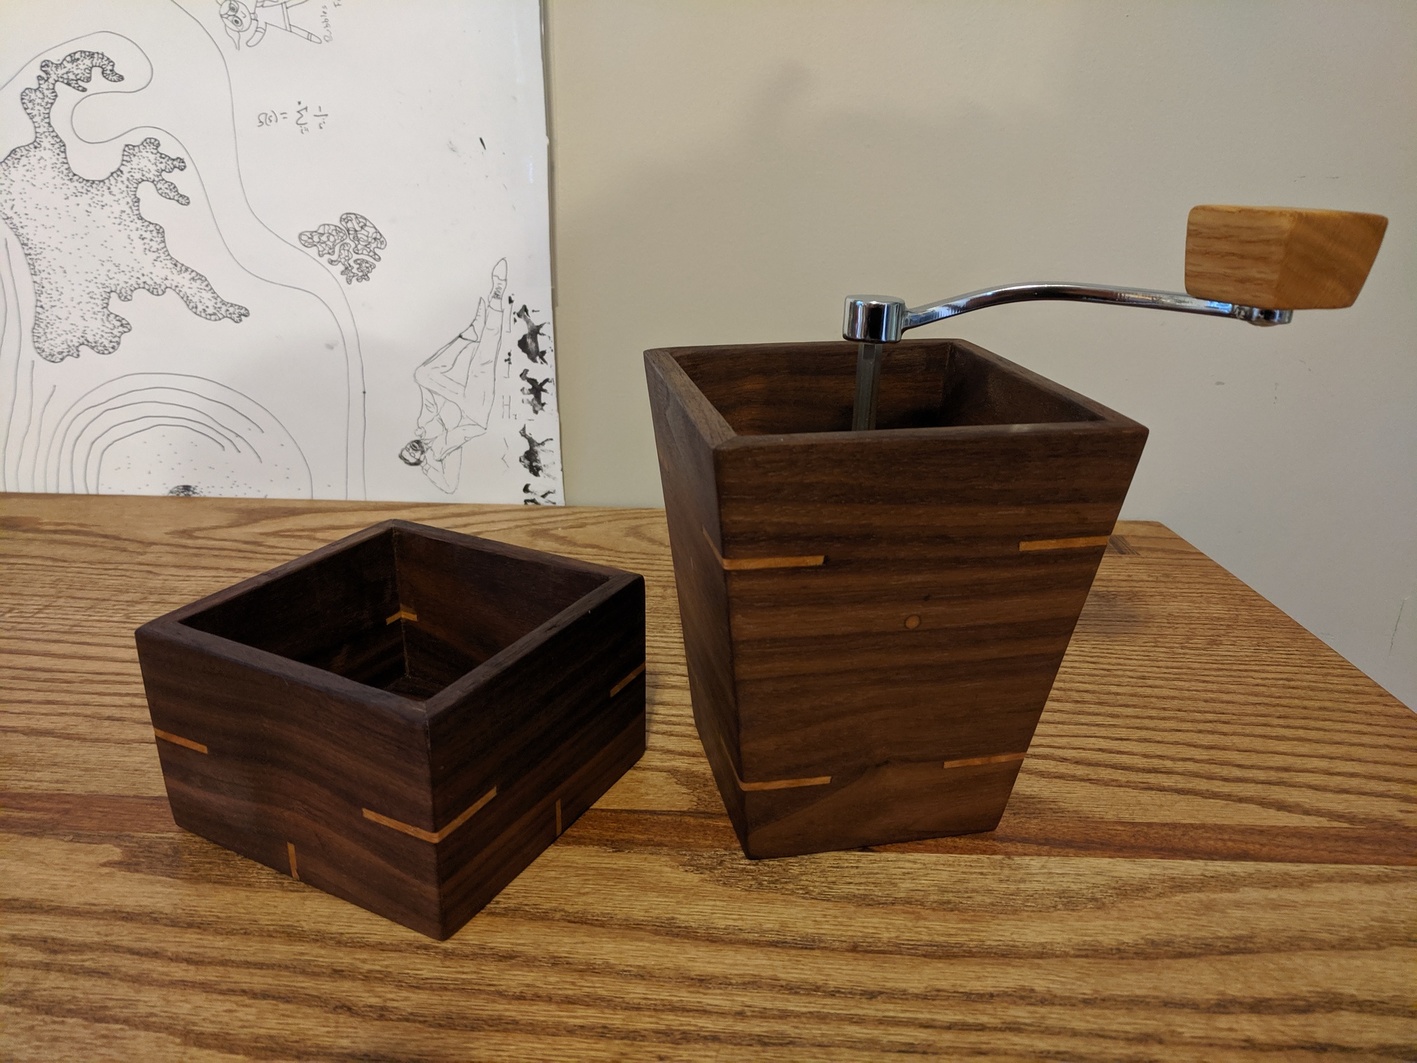
In my experience, woodworking is all about finding an excuse to build something. Liz's cousin was getting married. We thought the couple, an extremely sweet pair of coffee-loving organic farmers, would especially appreciate a hand made gift. A coffee grinder seemed appropriate. I ordered some wood and we got designing. Here's what we came up with. The main body contains a ceramic burr grinder core I bought online and accepts beans in the top. It nests into a square box-shaped base that collects the grounds.
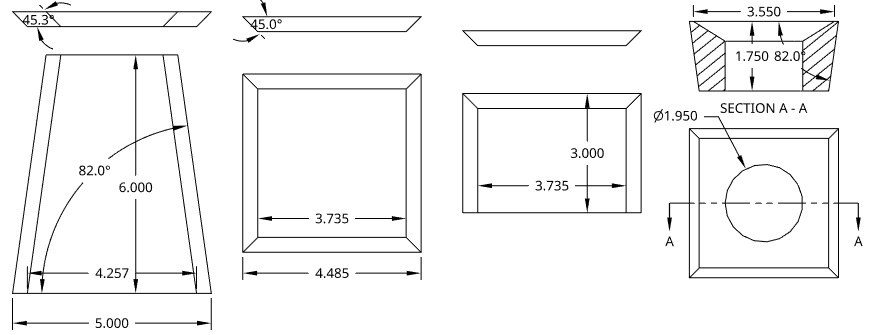
I'd never ordered wood online before but it worked well. The biggest difference is selection. I was able to buy us boards that were already cut to the 3/8" thickness we designed around without having to pay for custom milling. We started by cutting the pieces of the body. It has the shape of a truncated pyramid with a 9° half-angle, with miter joint edges.
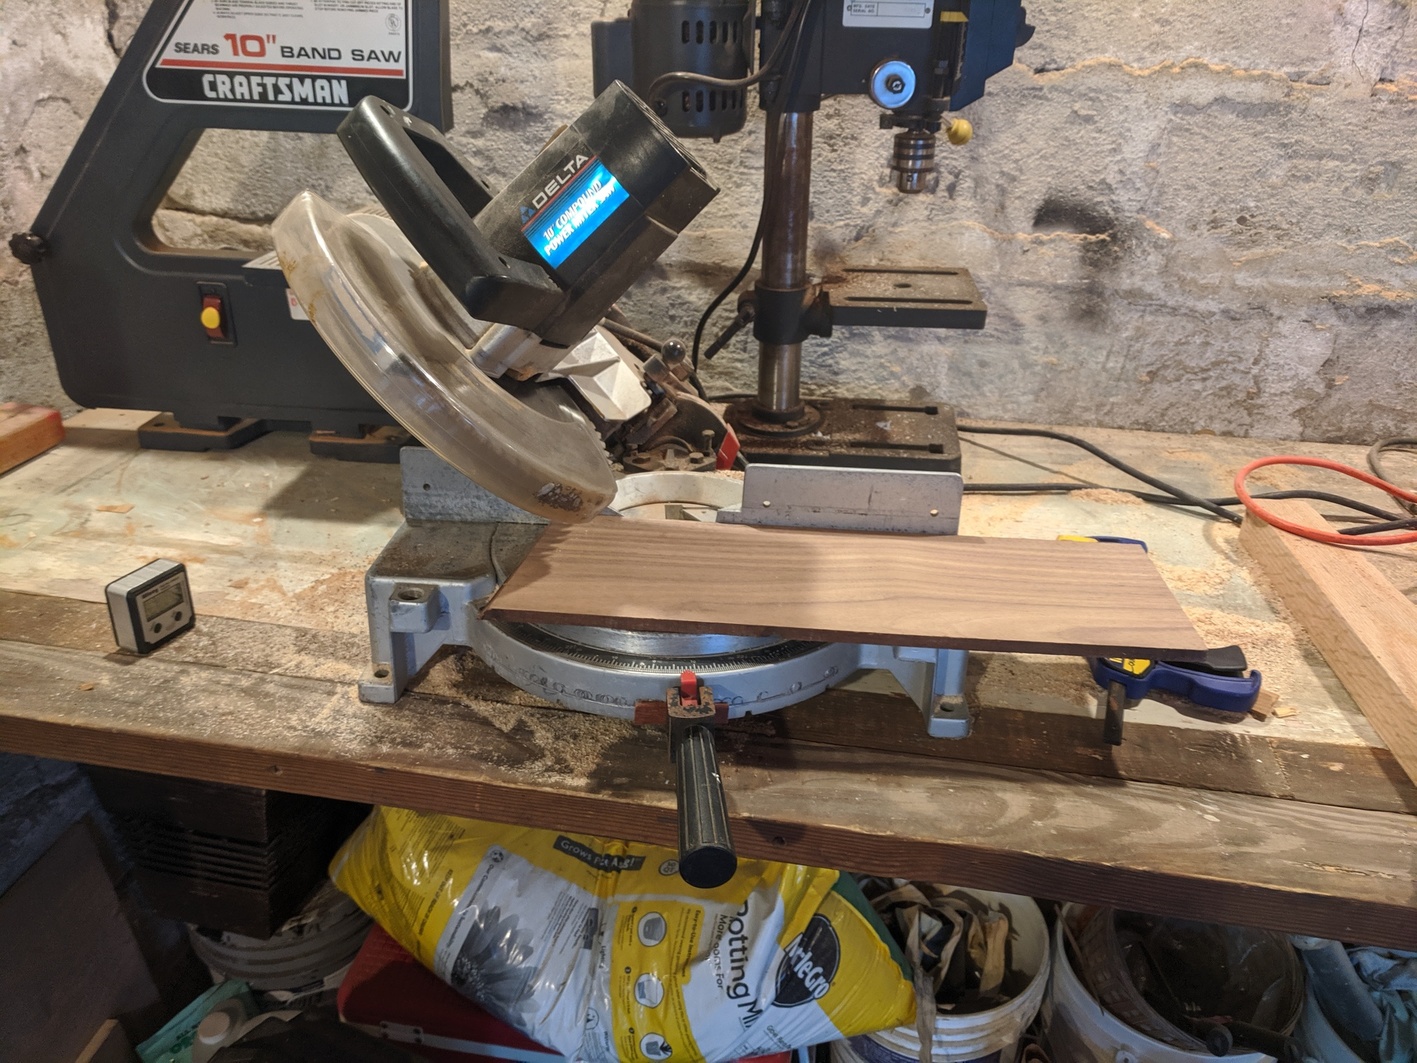
The best way we found to cut these pieces was on the chop saw. This tool allowed us to simply set the angles we wanted without thinking too much. It was just shy of being able to make the cut we needed, leaving a tiny bridge of wood we needed to remove by hand.
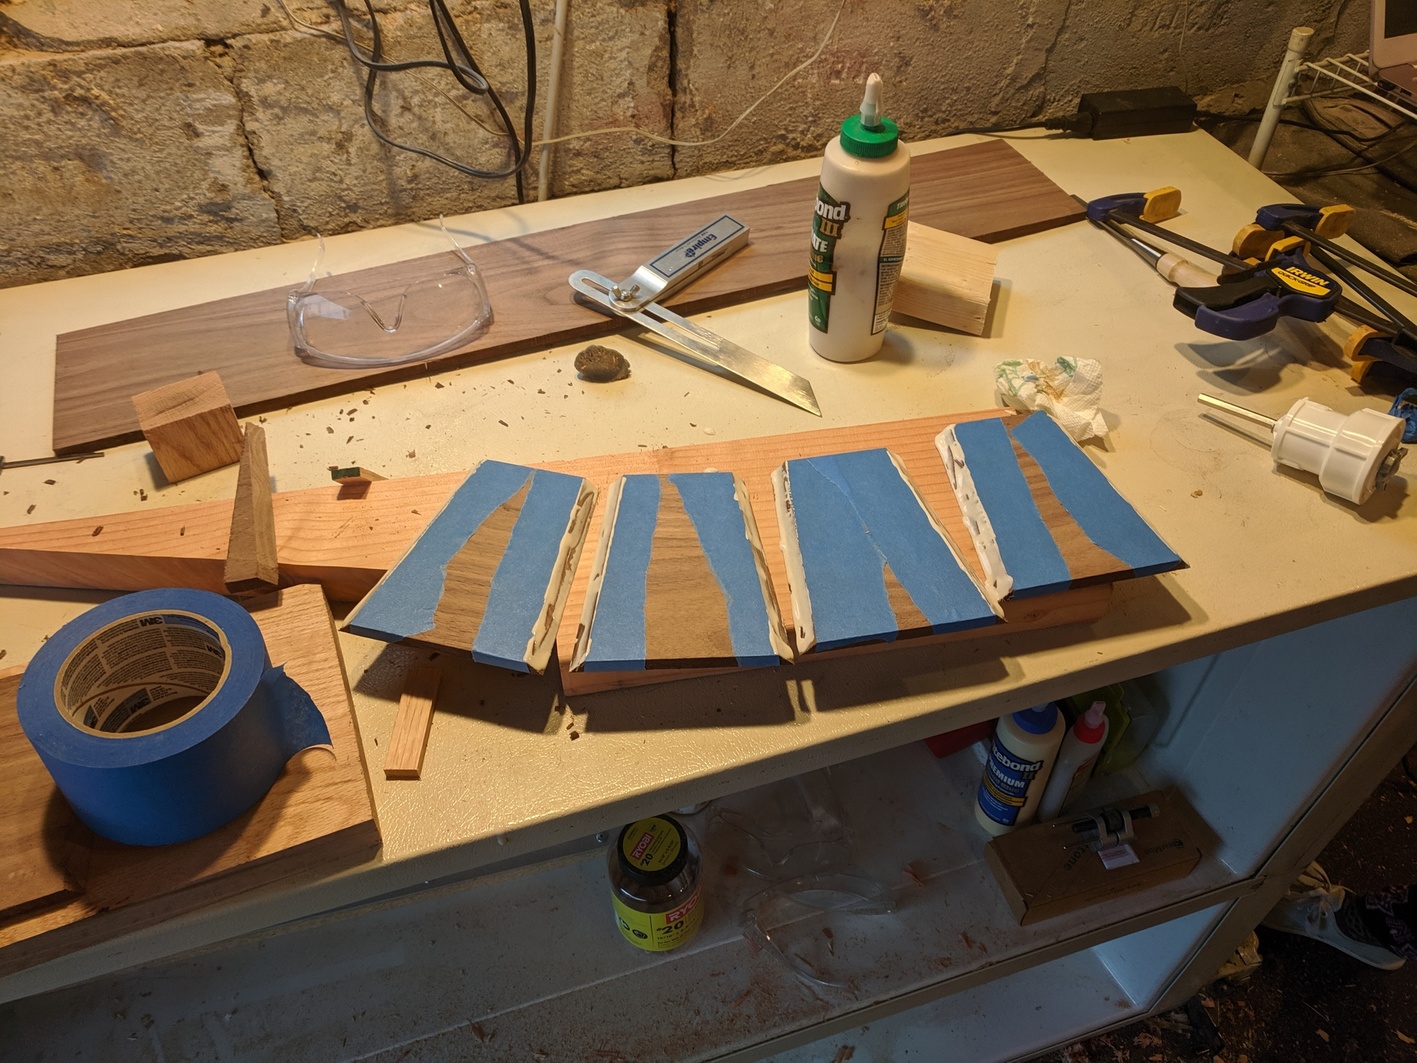
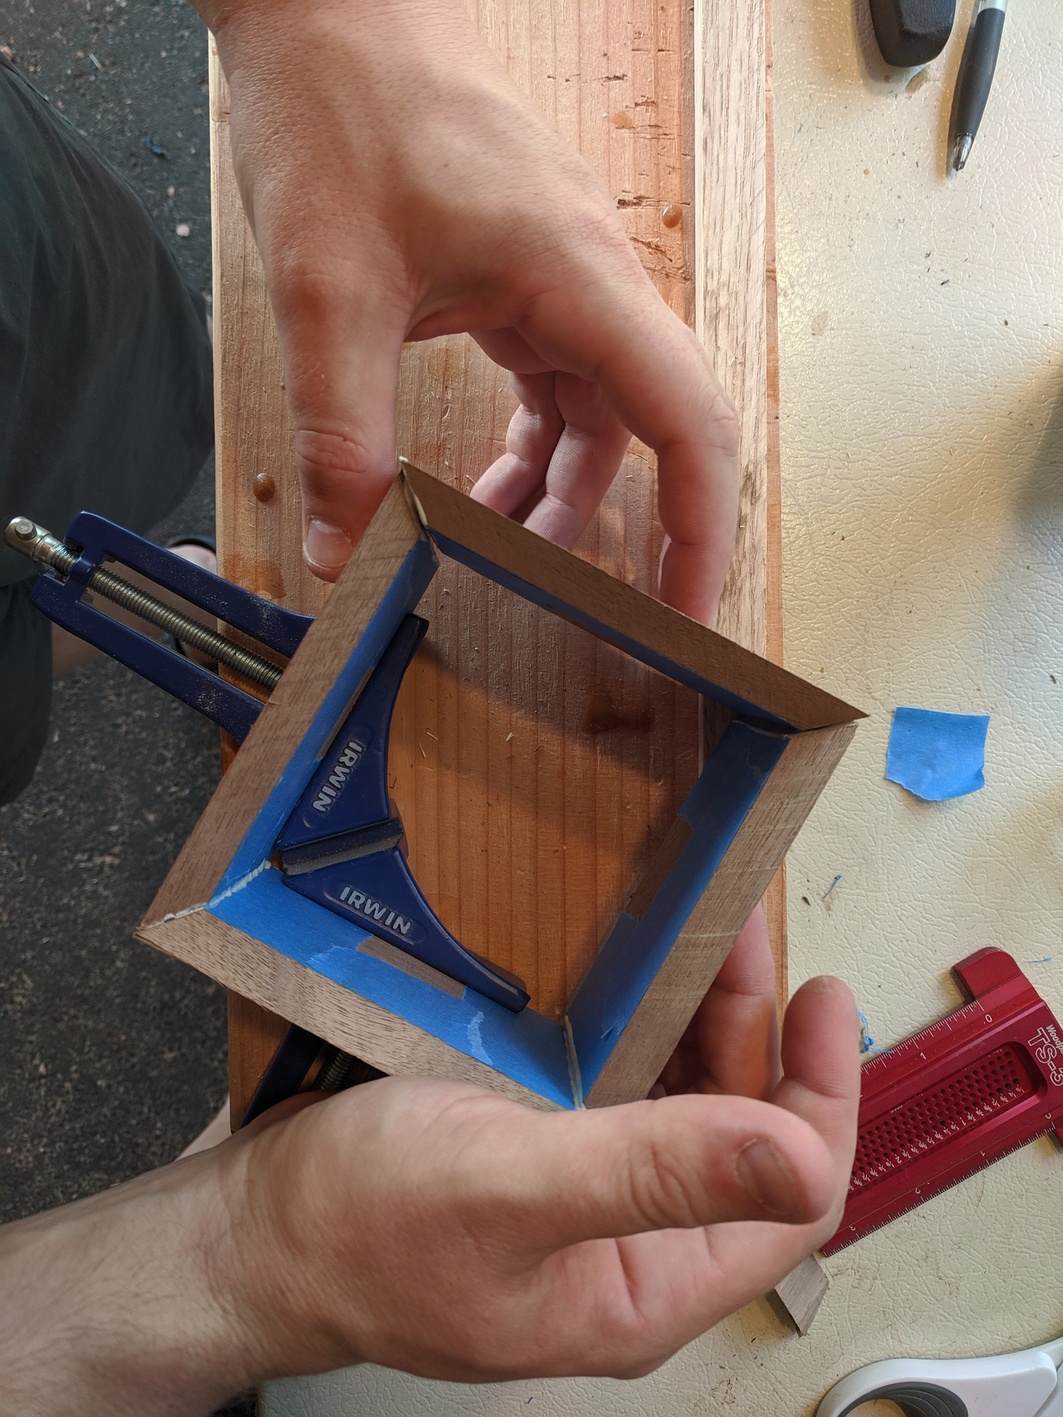
We were quickly able to glue up the body. We tried a tip I saw online: lining the inner-corners-to-be with masking tape. The idea is that this would prevent glue residue from hiding in these corners, since removal of that glue is always tricky. The problem is that it left us with tiny pieces of blue tape in the corners instead. These pieces were not particularly easy to remove and were particularly easy to see. Maybe we needed to be a little more careful about the tape alignment.
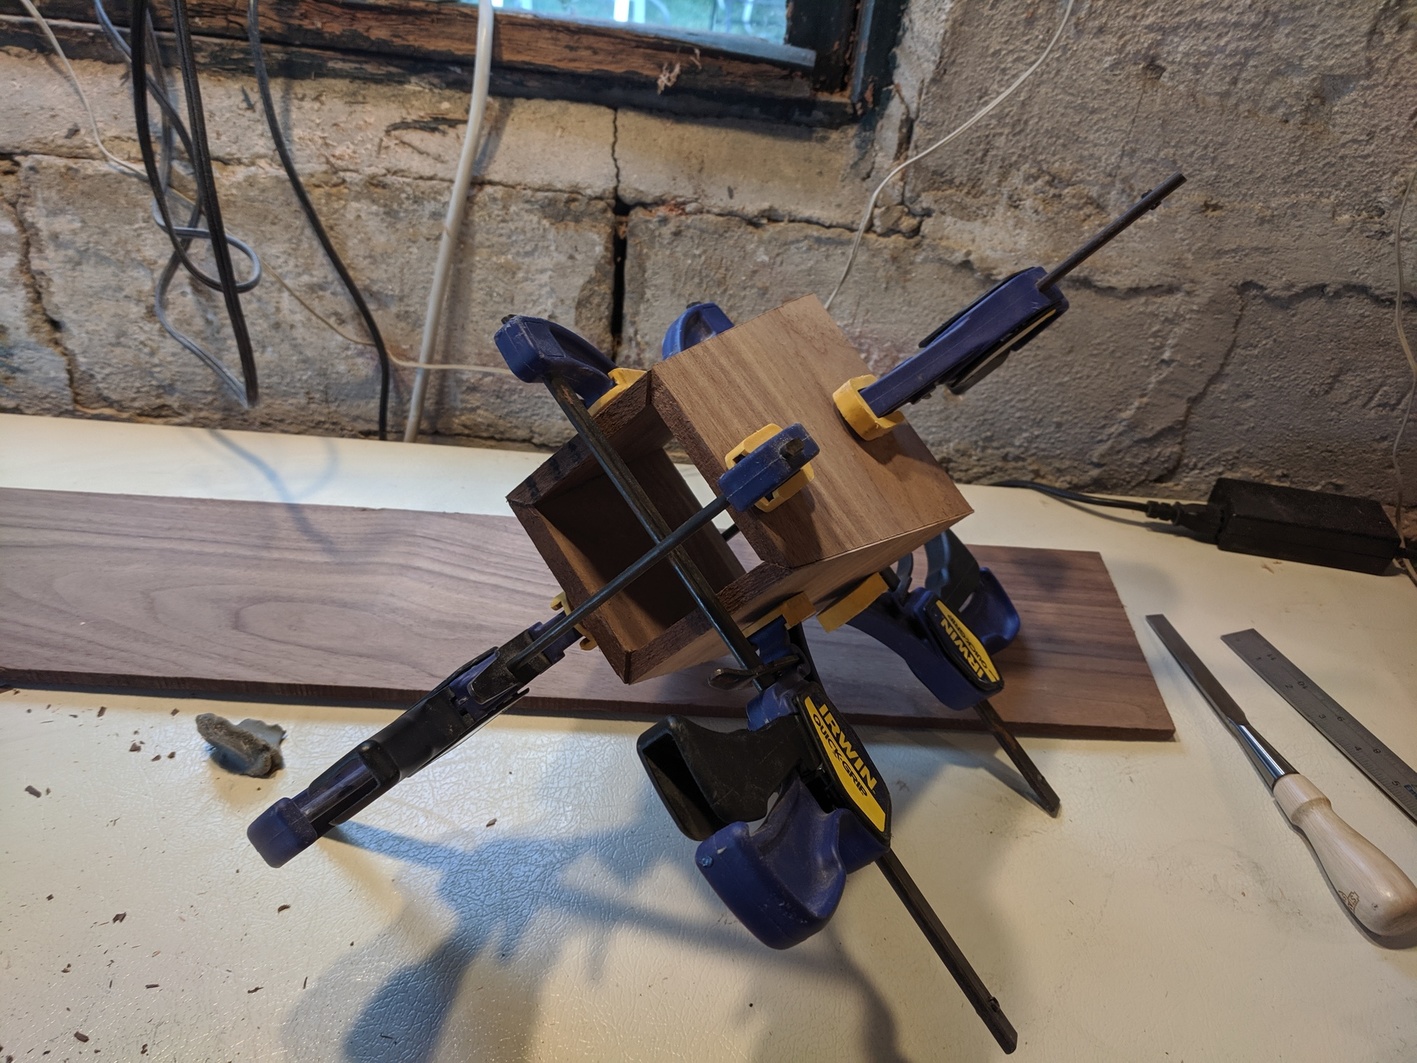
Next we worked on the base. It is a simple square shape, again with miter joints all around. We were able to cut this very easily with a stop set on the table saw sled.
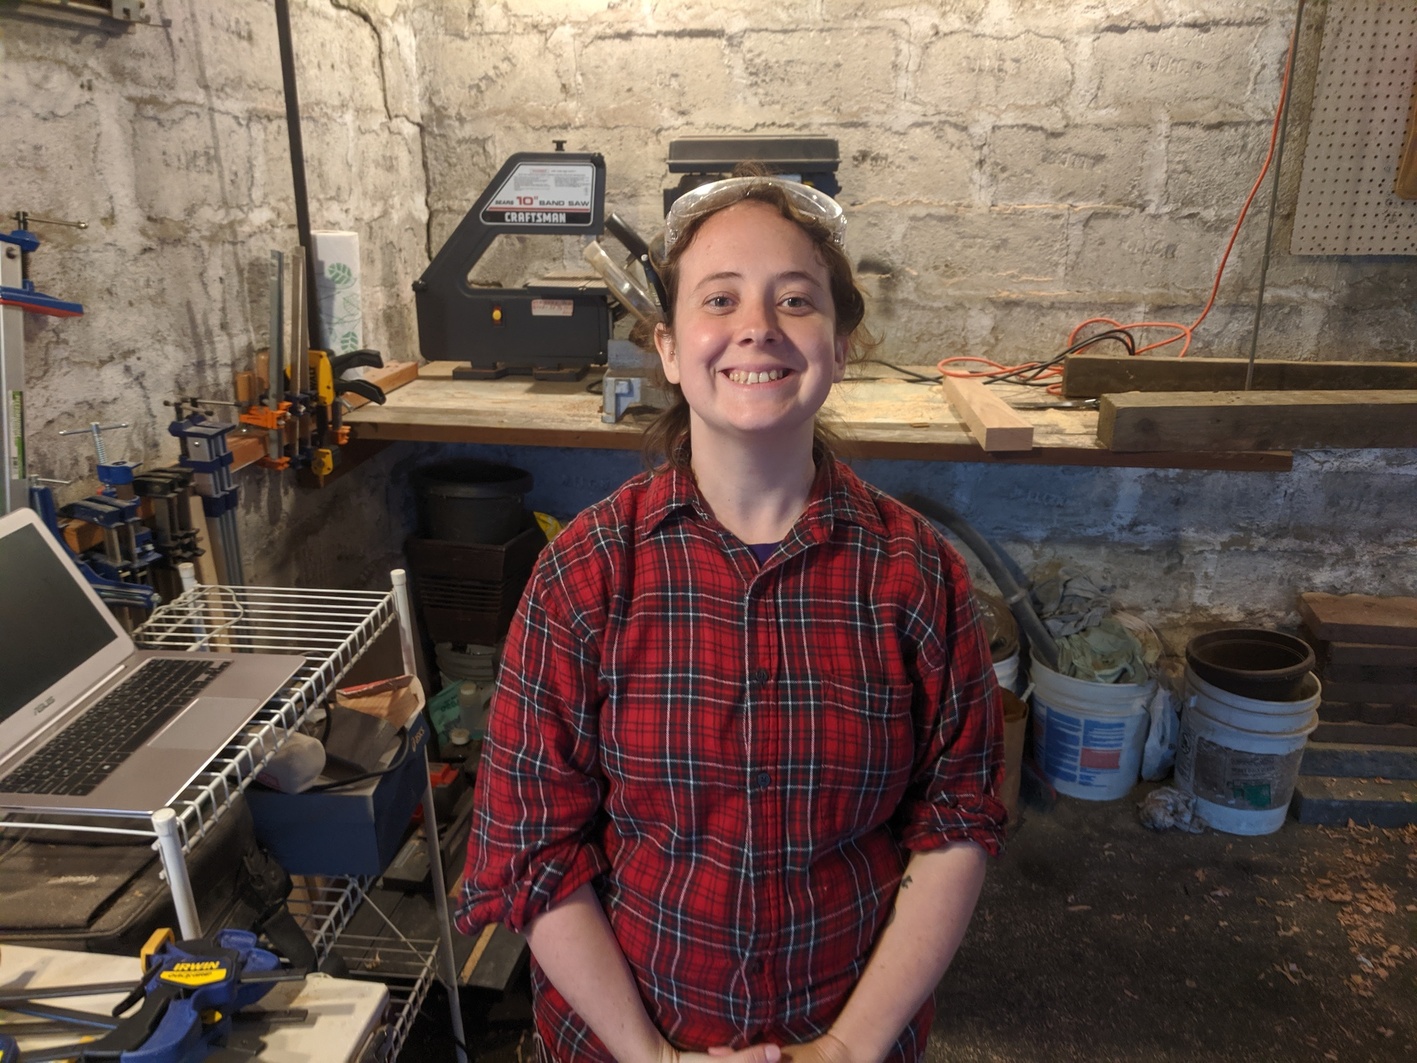
It was a little tricky to glue up. Liz was unphased.
The next part was a bit of an adventure. We needed a block to accept the grinder core and nest inside the body. It required a bore of almost 2" and a thickness of about 1.25". I bought us an adjustable circle cutter bit for the drill press to drill the hole, and we used a spare piece of 8/4 red oak. Cutting the hole was at the very edge of our limits. The cutter could barely reach, even attacking the wood from both faces. Oak is hard. On even the highest torque setting, the motor kept stalling. The drill press, circle cutter, and Liz were all unhappy. I was, as usual, extremely brave and also cool. Eventually we got the hole cut.
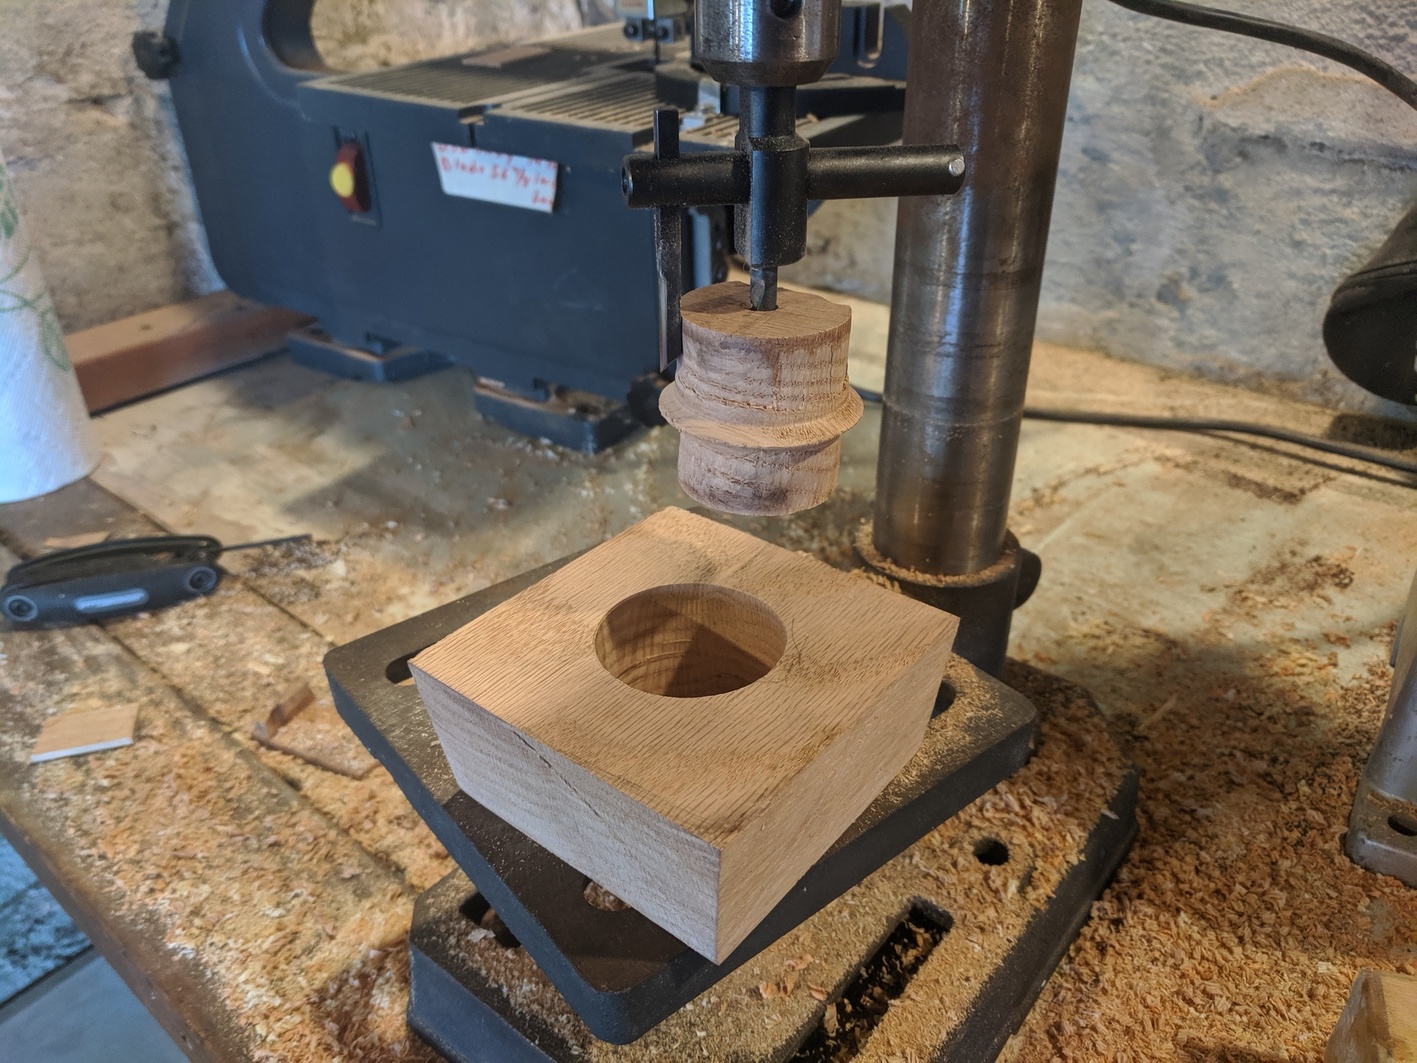
We used a router to chamfer the top edge of the hole and reduce the thickness near the hole to 1.25". I also chiseled out flats for the grinder core's clips to sit. You can see the chamfer and flats below. We also had to cut the wall angle into the edges.
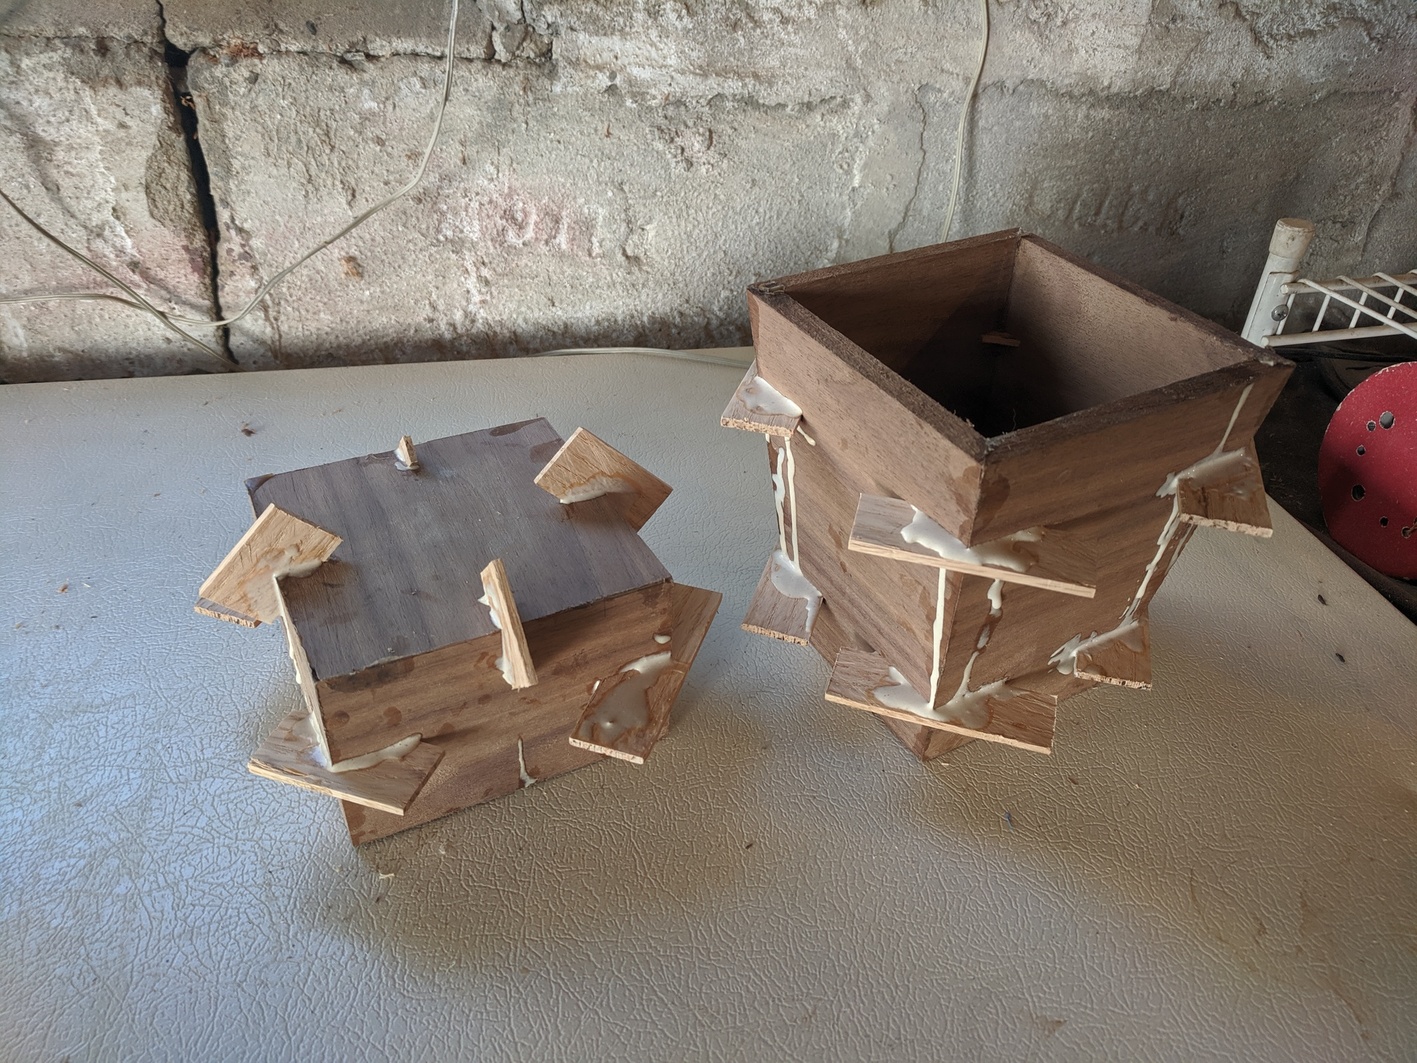
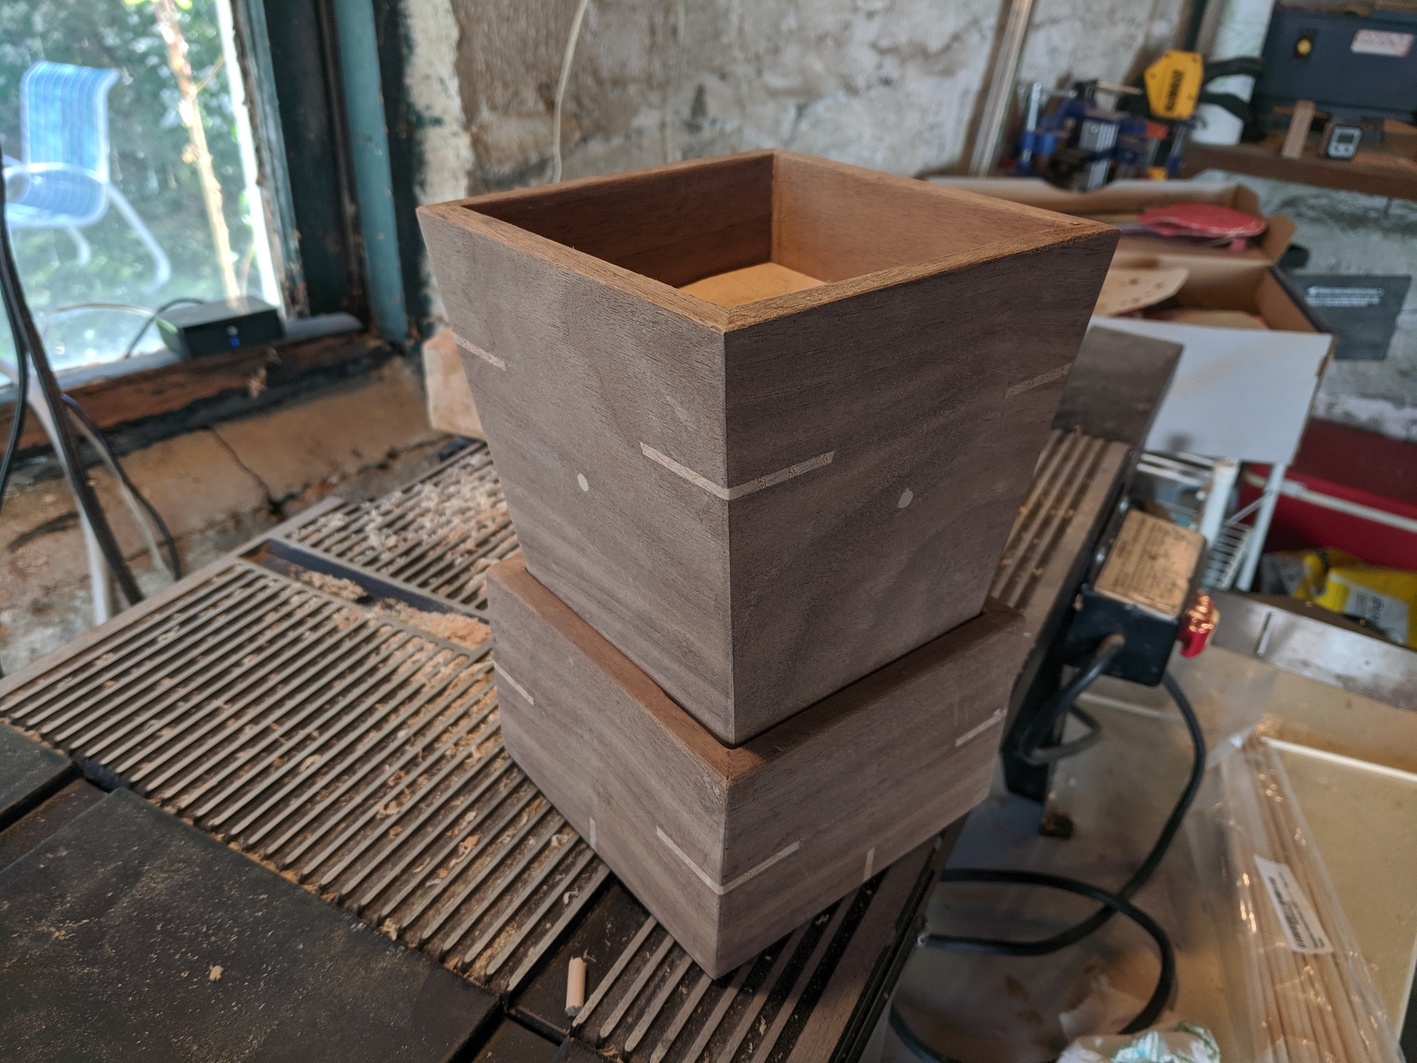
We reinforced all these miter joints with oak splines. This was pretty easy on the table saw sled. For the body, we tilted the blade to that 9° angle so that the splines would be parallel to the top and bottom edges of the grinder.
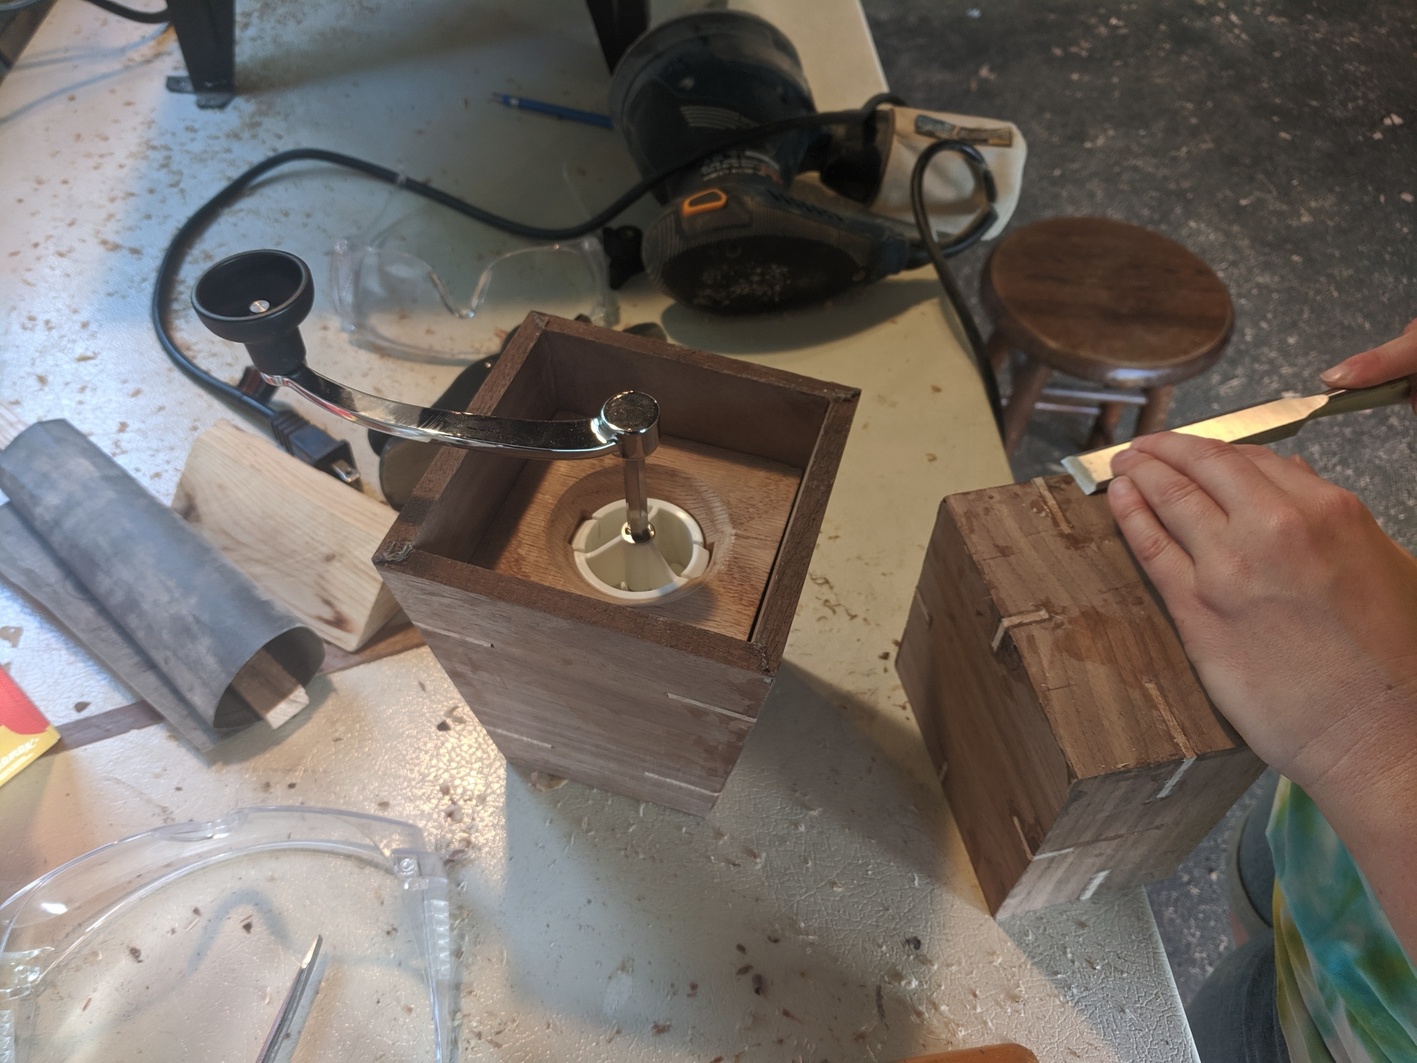
After fitting the core block in place, we drilled holes for pins and glued them in place.
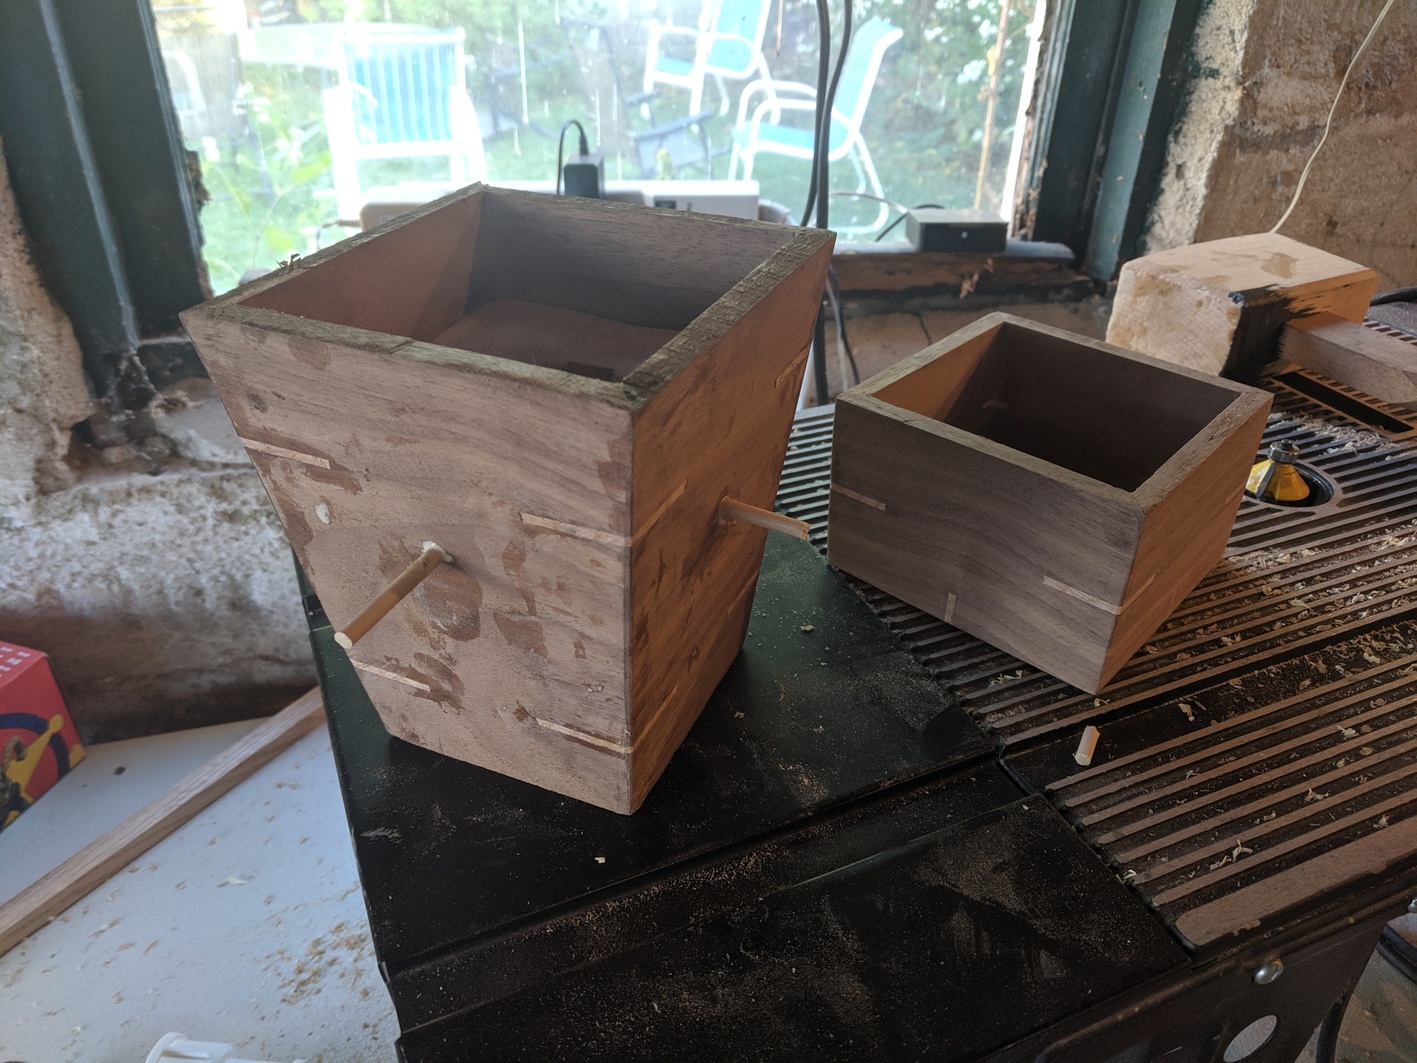
We planed and sanded it smooth.
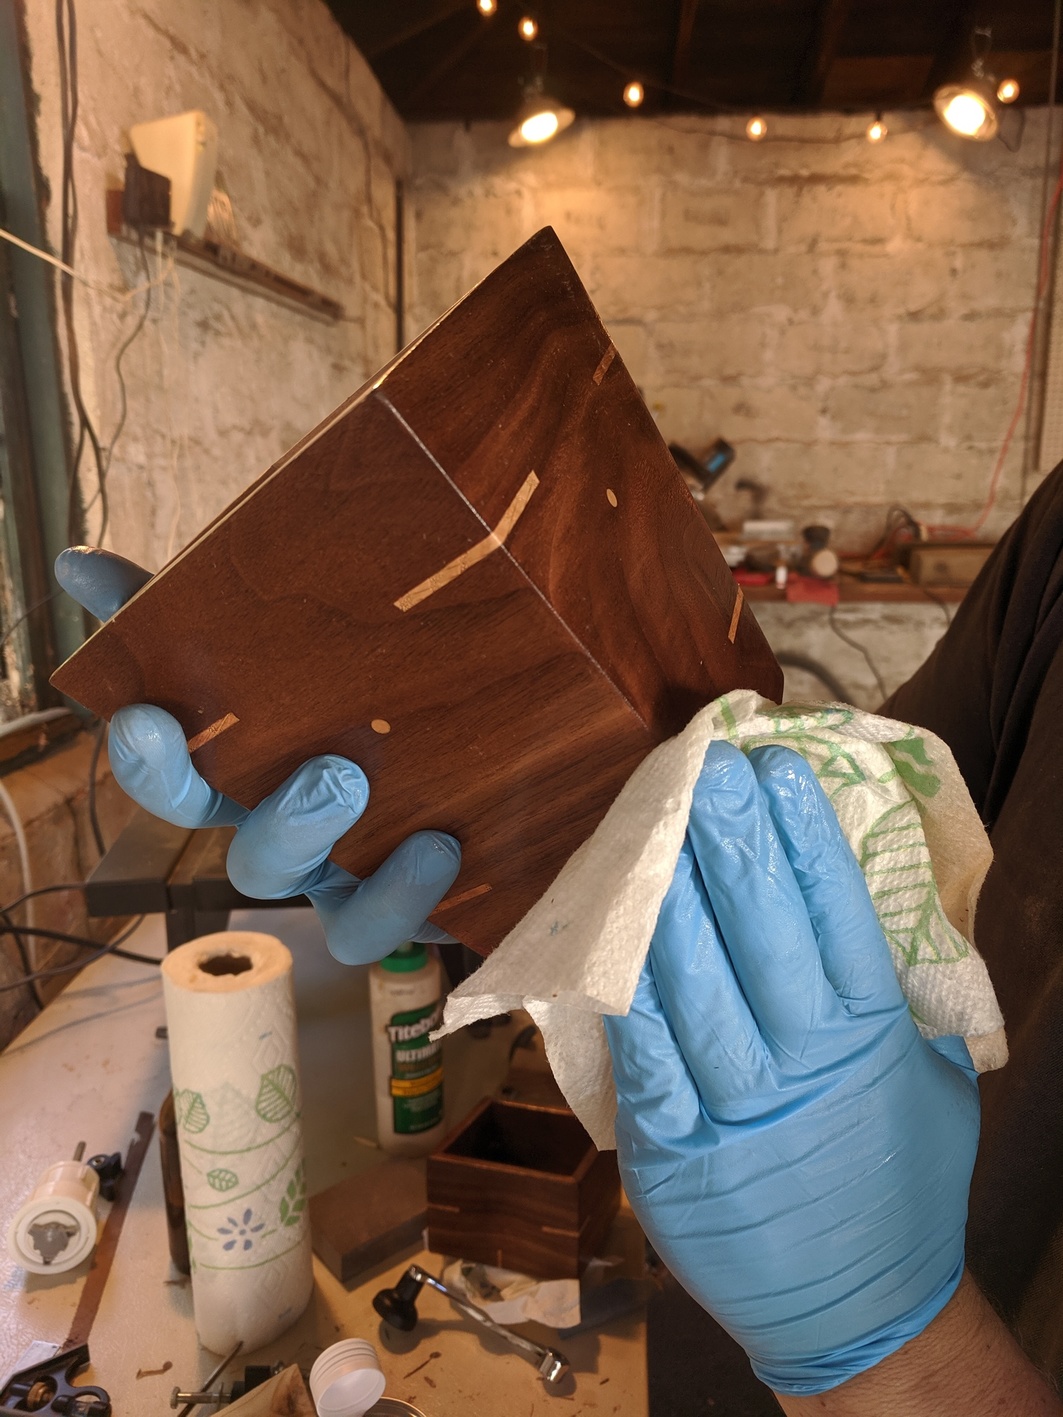
Last was finishing. Since this was for food, we just wiped it down with walnut oil sold for cooking.
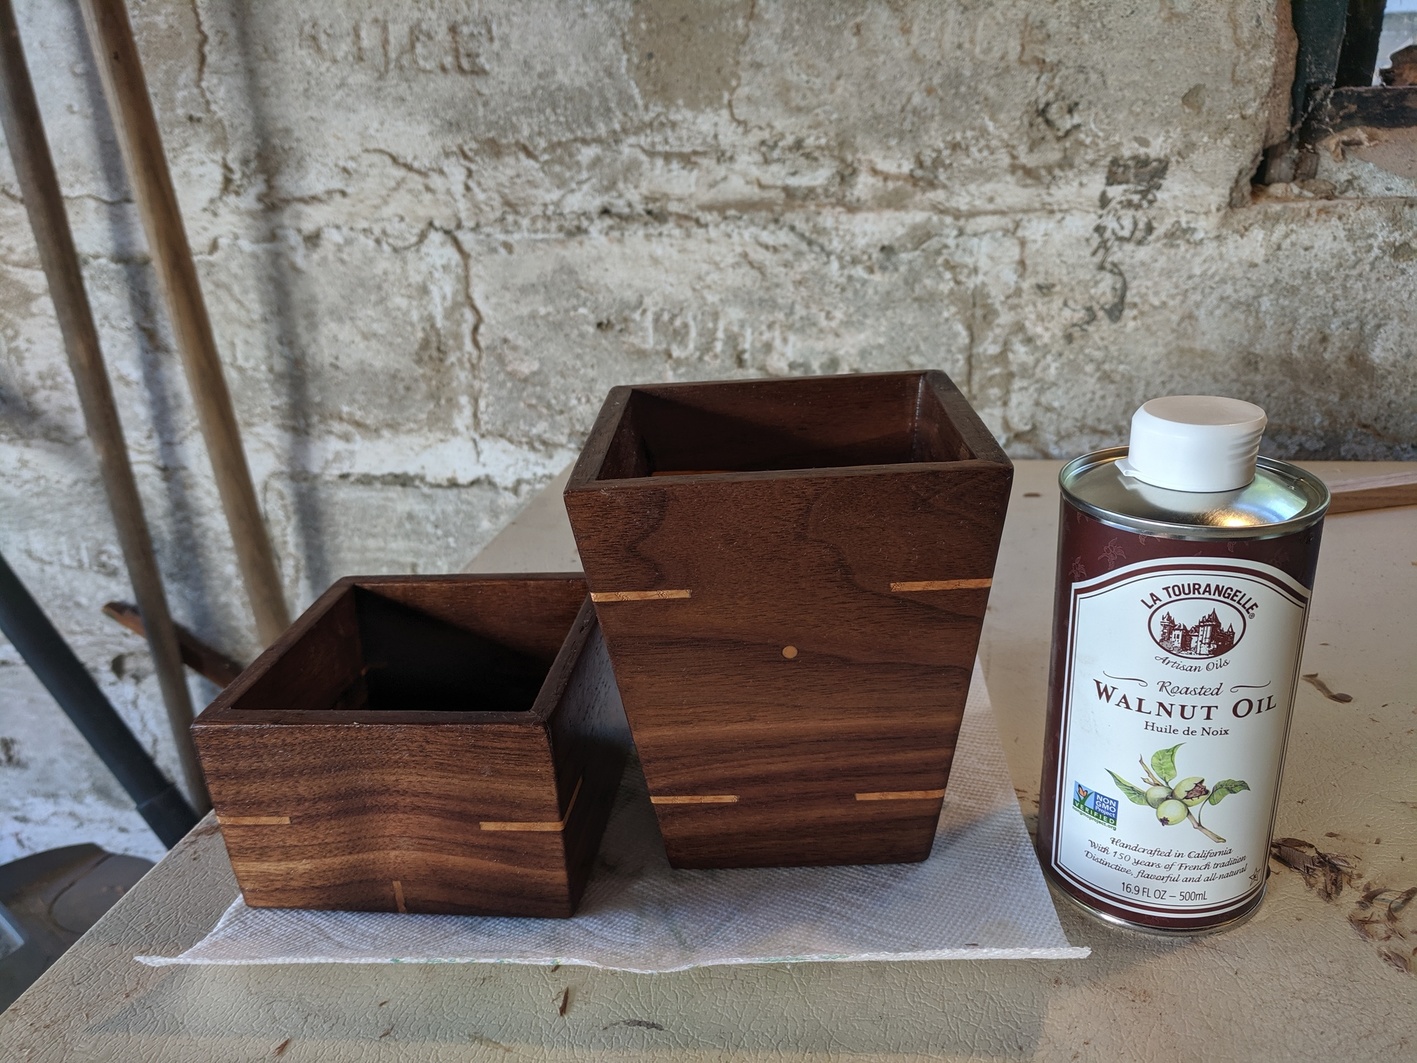
We kept wiping it down with more oil every day for about a week. I read a rule of thumb about oil finish on kitchen pieces.
Once a day for a week, once a week for a month, then once a month forever.
Yeah, that's gonna happen for sure. The coffee bean oil will keep it safe.
We were very pleased with how it came out. Also, this was my first woodworking project with Liz. It was nice!
At press time, we have not tested the coffee grinder. I hope it works.