You've Reached the Center of the Internet
It's a blog
Wedge Table
This year over Thanksgiving, Matt and I made an interesting table out of red oak and walnut. It was inspired by a clipping from a catalog. This was our hardest project so far, and I think it came out well.
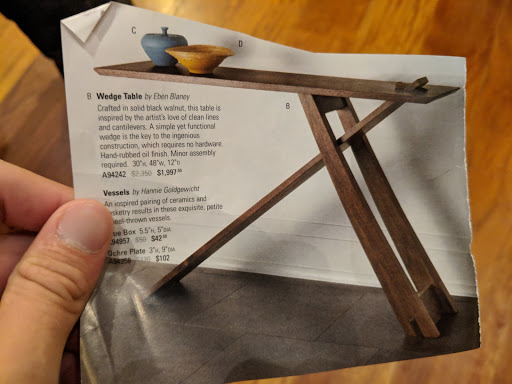
The original design is by Eben Blaney. Thanks Eben! We worked from the picture above and a few others, and tried to roughly match his table.
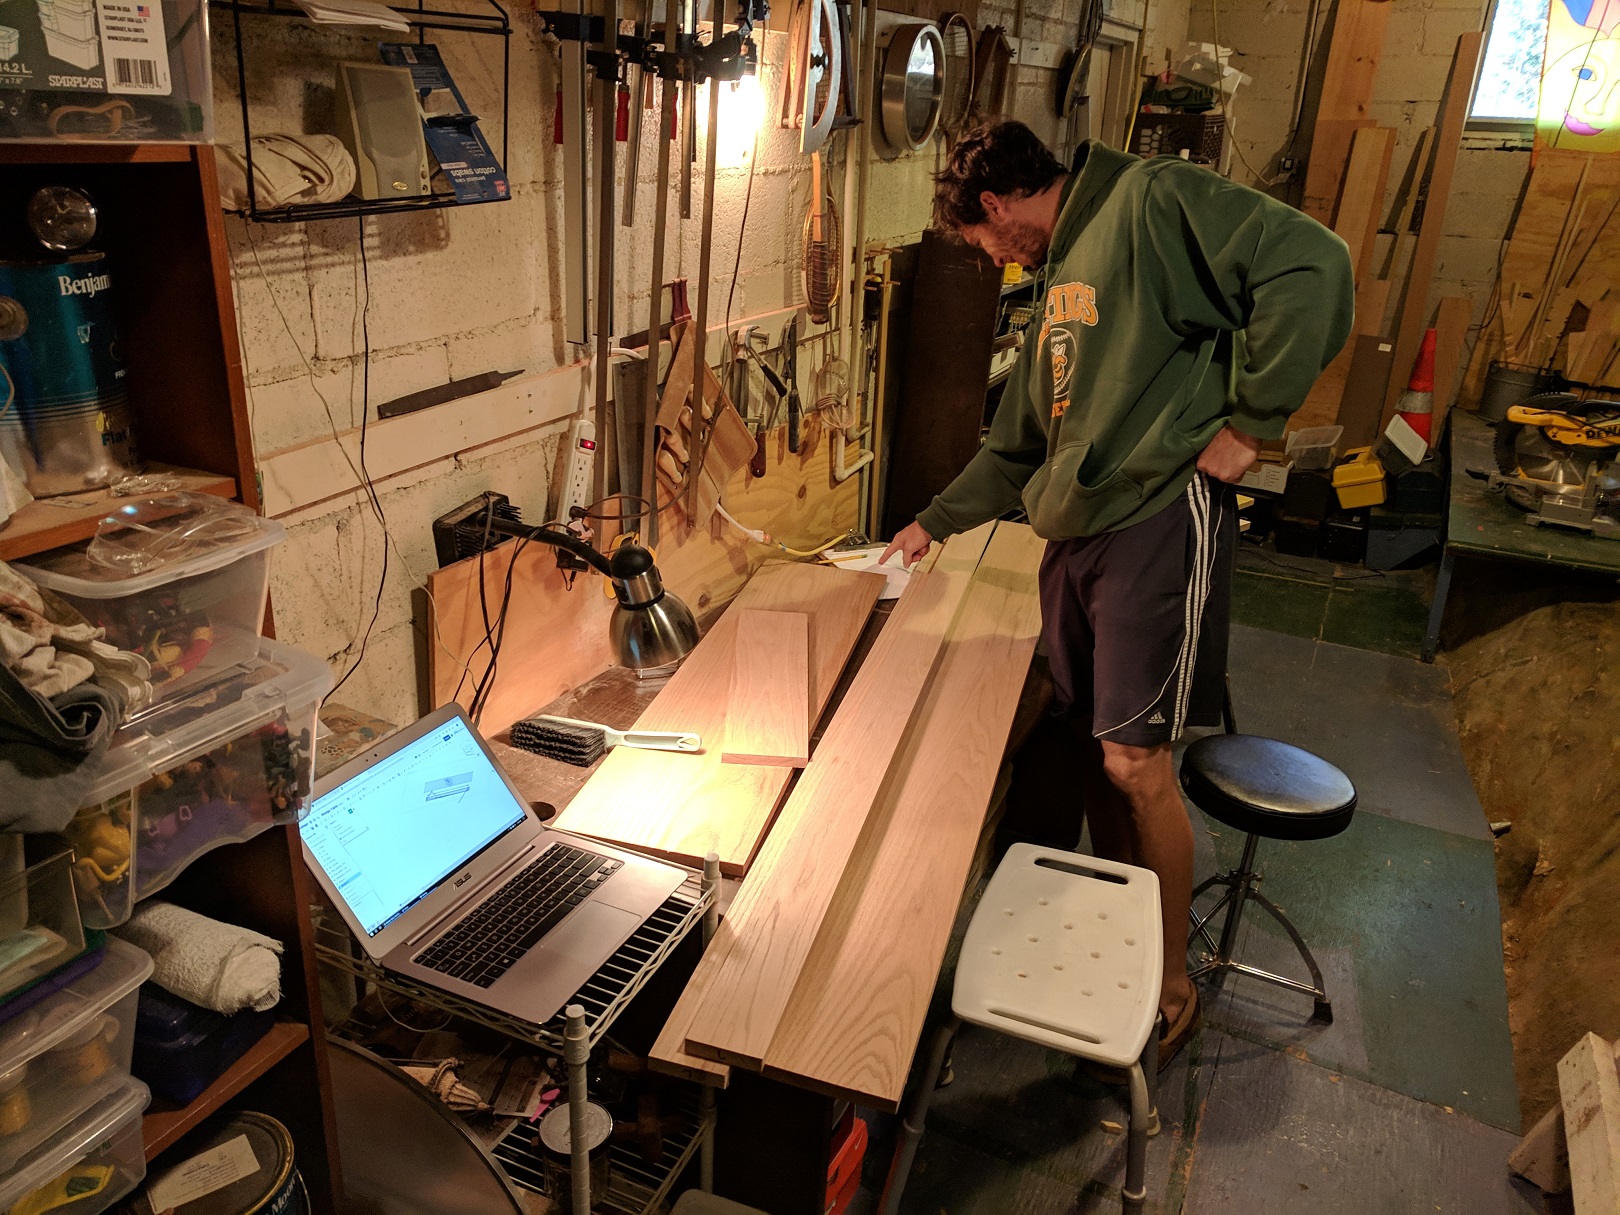
We started by modeling with Onshape.
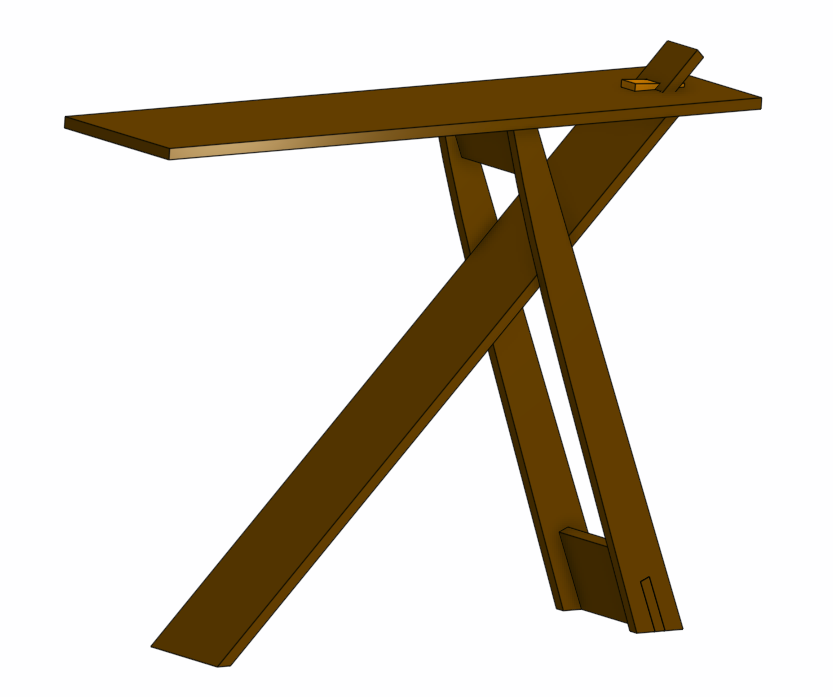
The design ended up being pretty complicated. We picked a 45° angle between the long leg and the top. Then, to make things easy and reduce the chance of cutting angles wrong, we made the central triangle of the table isosceles. That meant that every angle on the table was either 45° or 67.5°. I think this was a good idea.
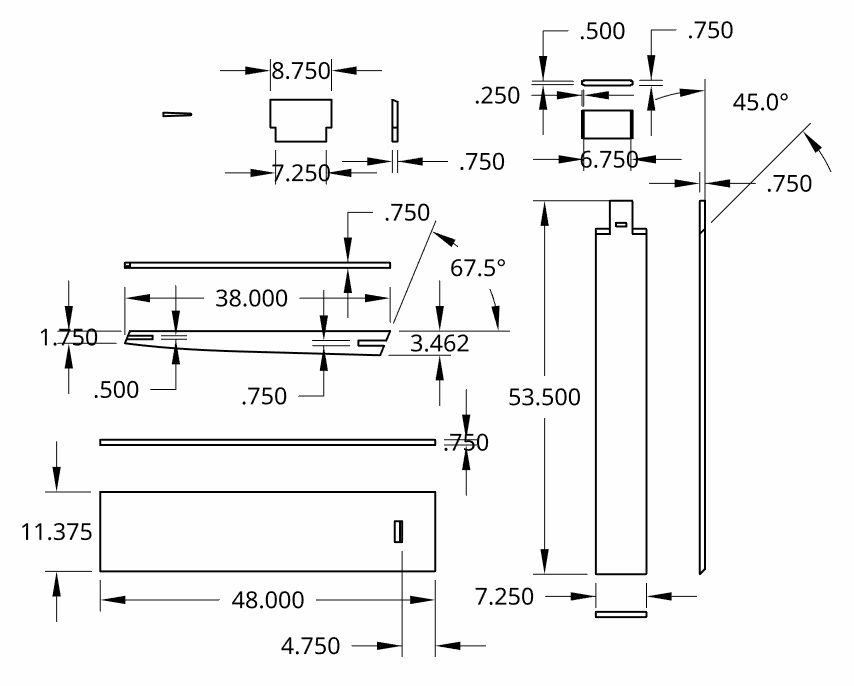
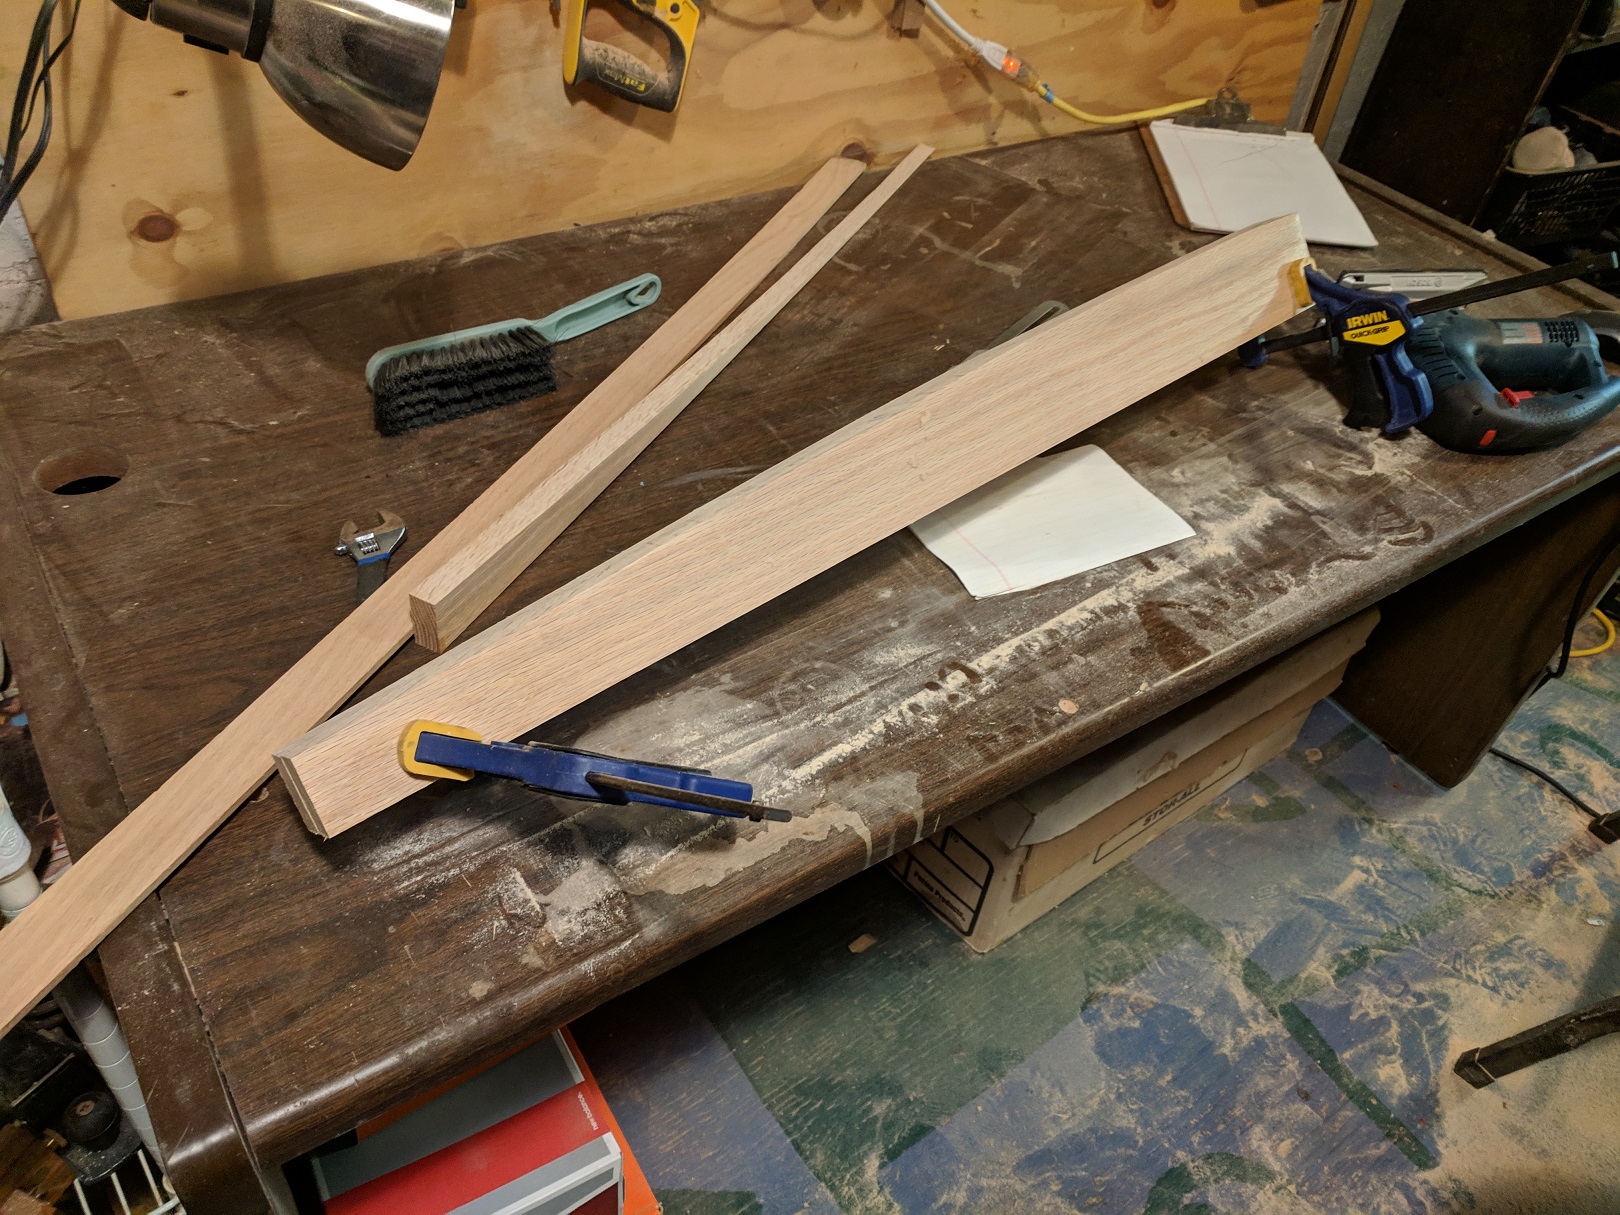
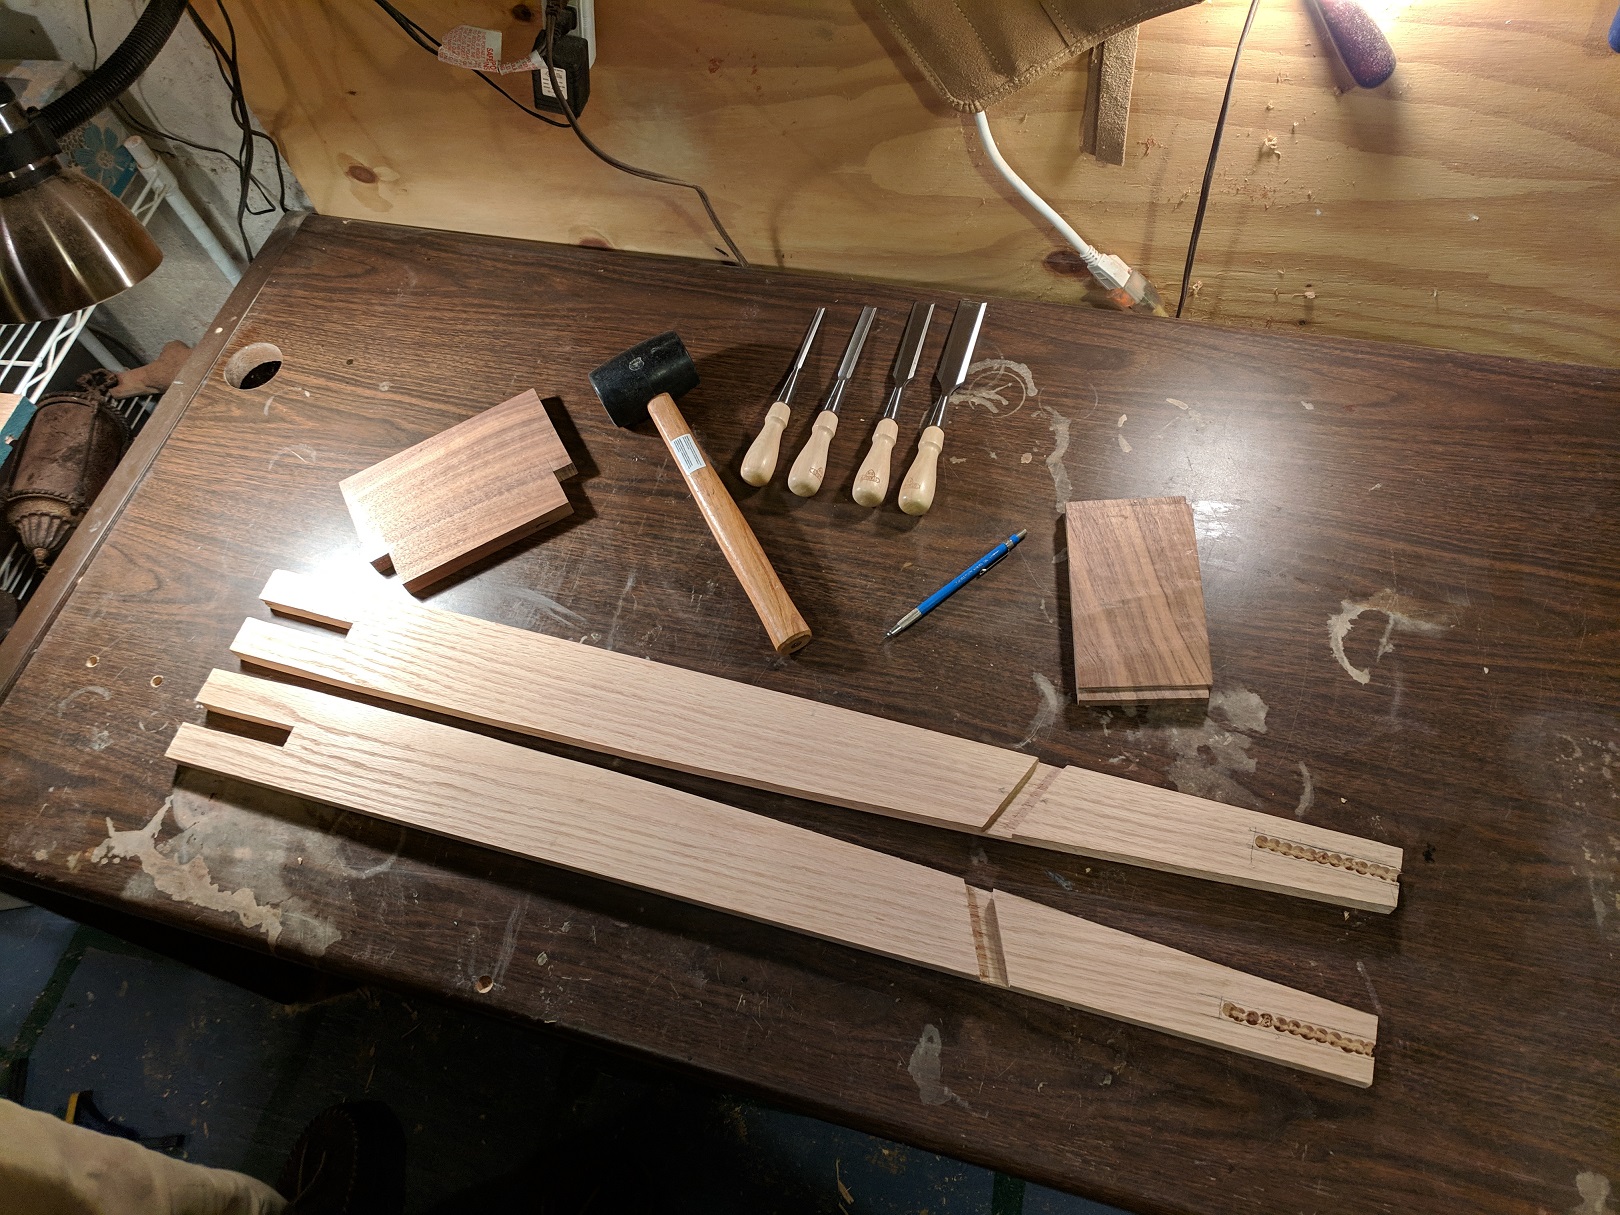
First, we chopped all the wood to length. Two 38" lengths of 1x4" for the double legs, a 53.5" length of 1x8" for the single leg, and a 48" length of 1x12" for the top. We also cut some smaller pieces of walnut for the stretchers and the peg.
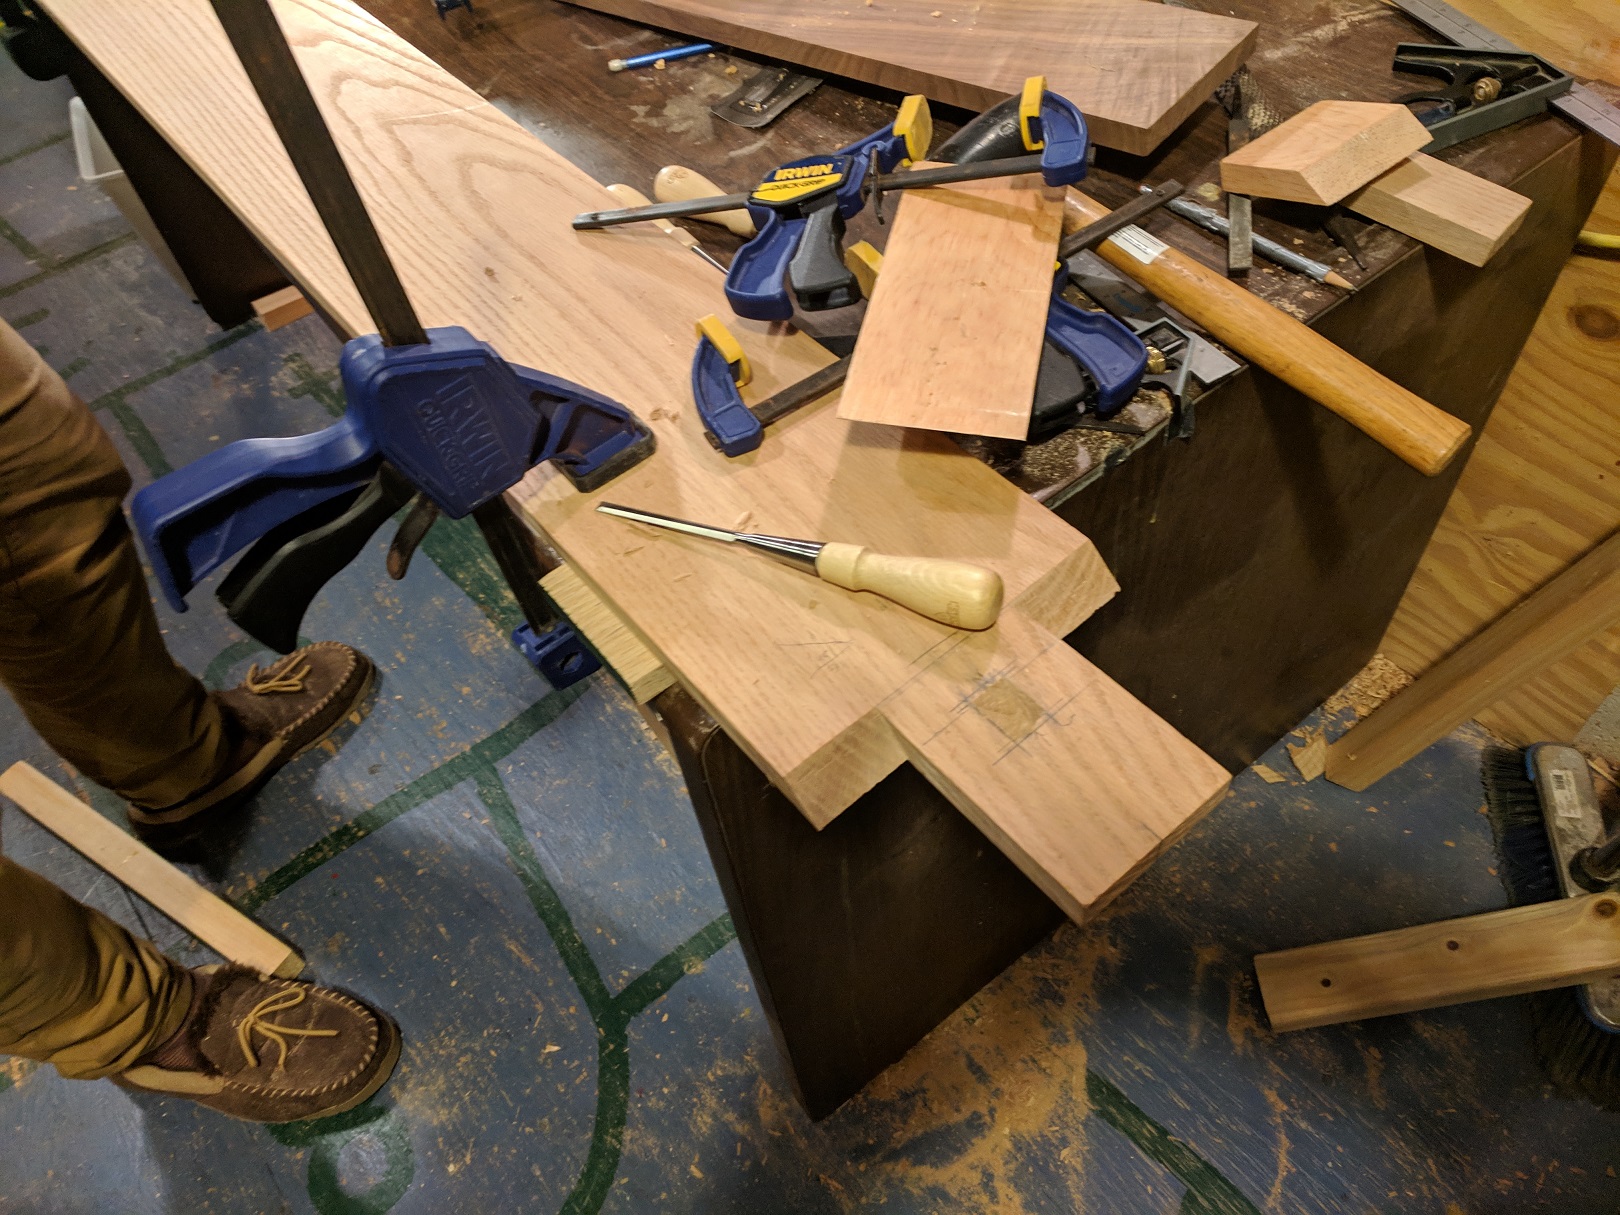
Next, we bent a thin piece of wood to mark the curves on the double legs and carefully cut the excess away with a jig saw. The jig saw blade wanders around and doesn't make edges that are perfectly square. We fixed this a bit using sand paper. I think a band saw would have been better for this, but we didn't have one.
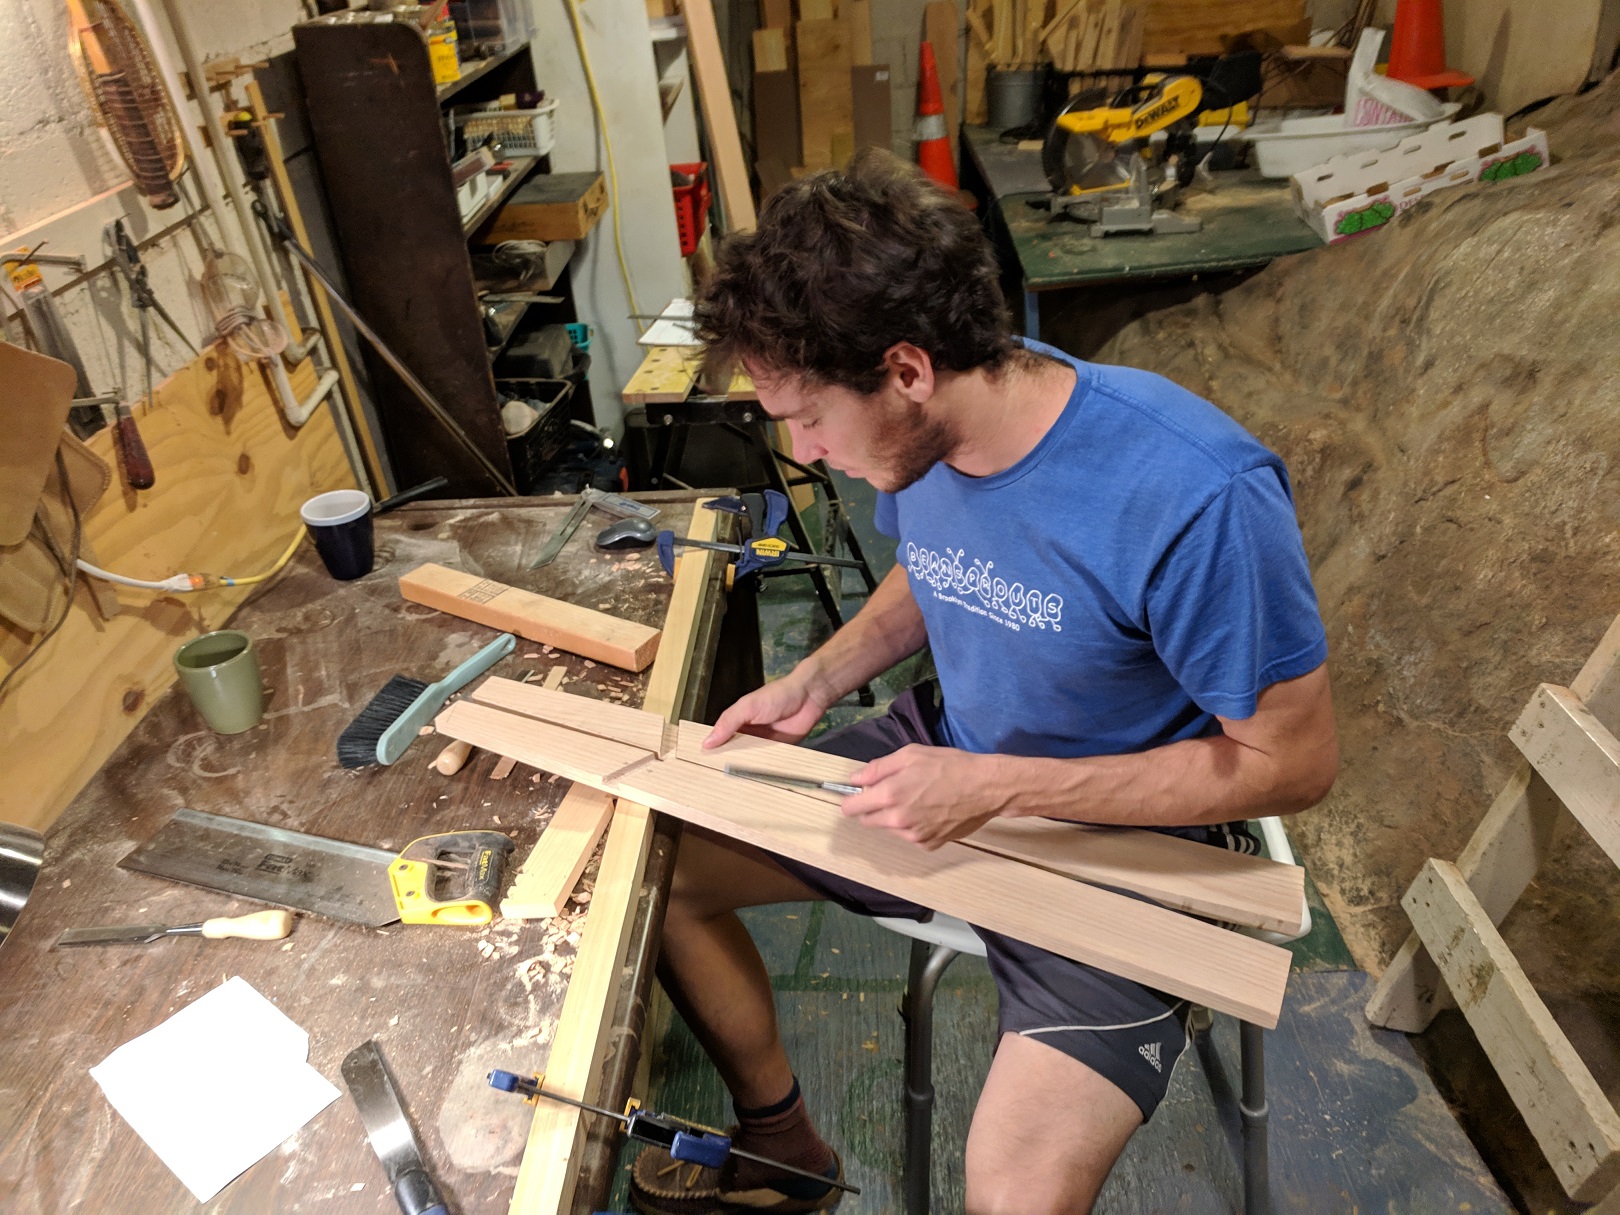
Using a pull saw and chisels, we cut diagonal dados into the double legs where the single leg would cross it.
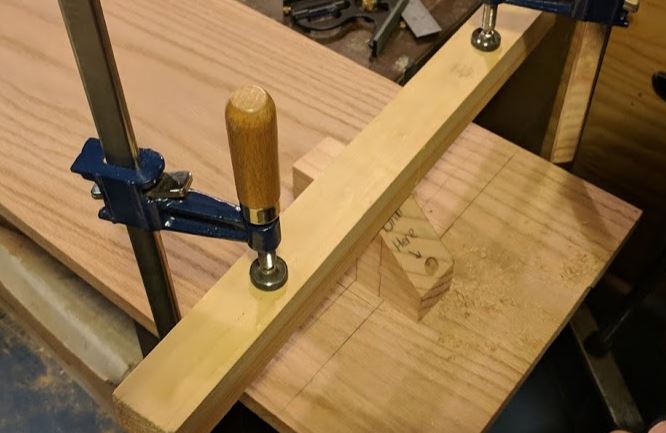
Cutting the angled hole in the top was tricky. We made a jig and roughed out this hole with a hand drill, then finished the job with chisels.
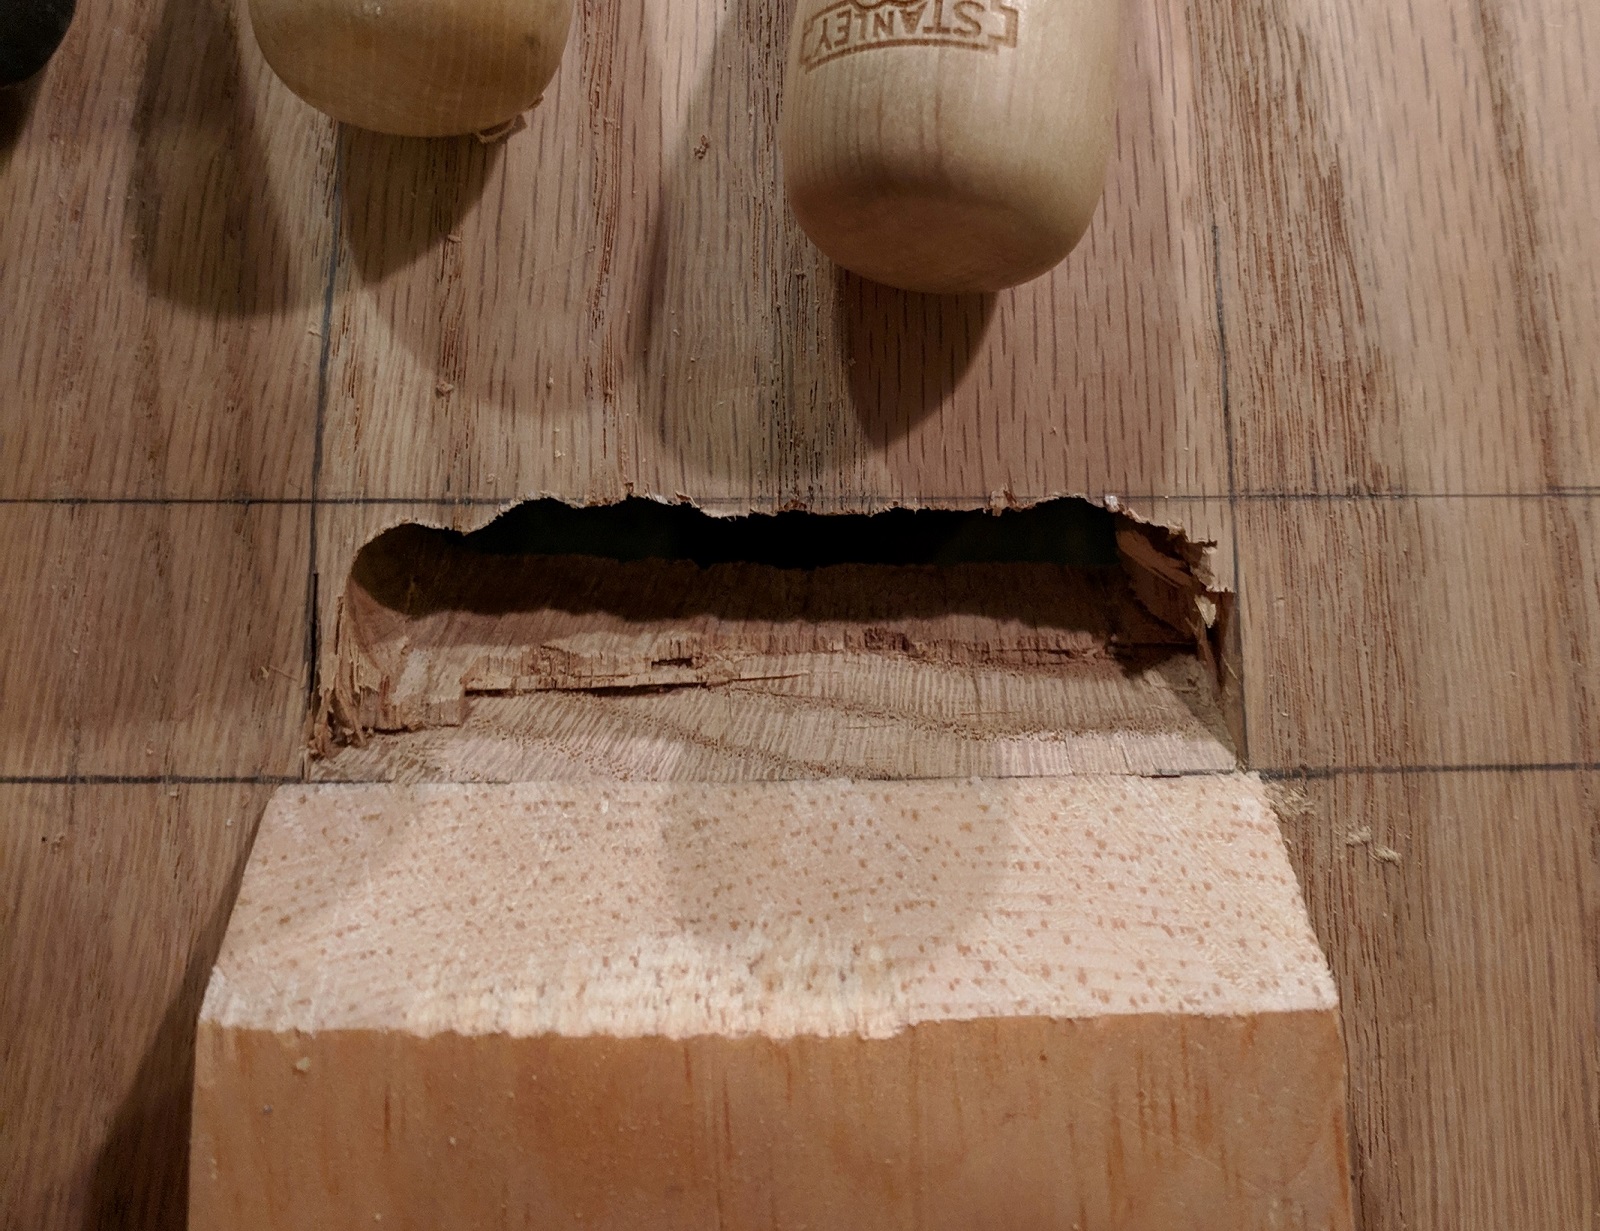
We cut the shoulders off of the single leg, fitted it into the hole in the top, marked the hole for the pin, and cut it using the same technique.
We finished the double legs by cutting the tenons for the stretchers. Normal tenons for the top stretcher and through tenons for the bottom one. We made the stretchers themselves out of walnut.
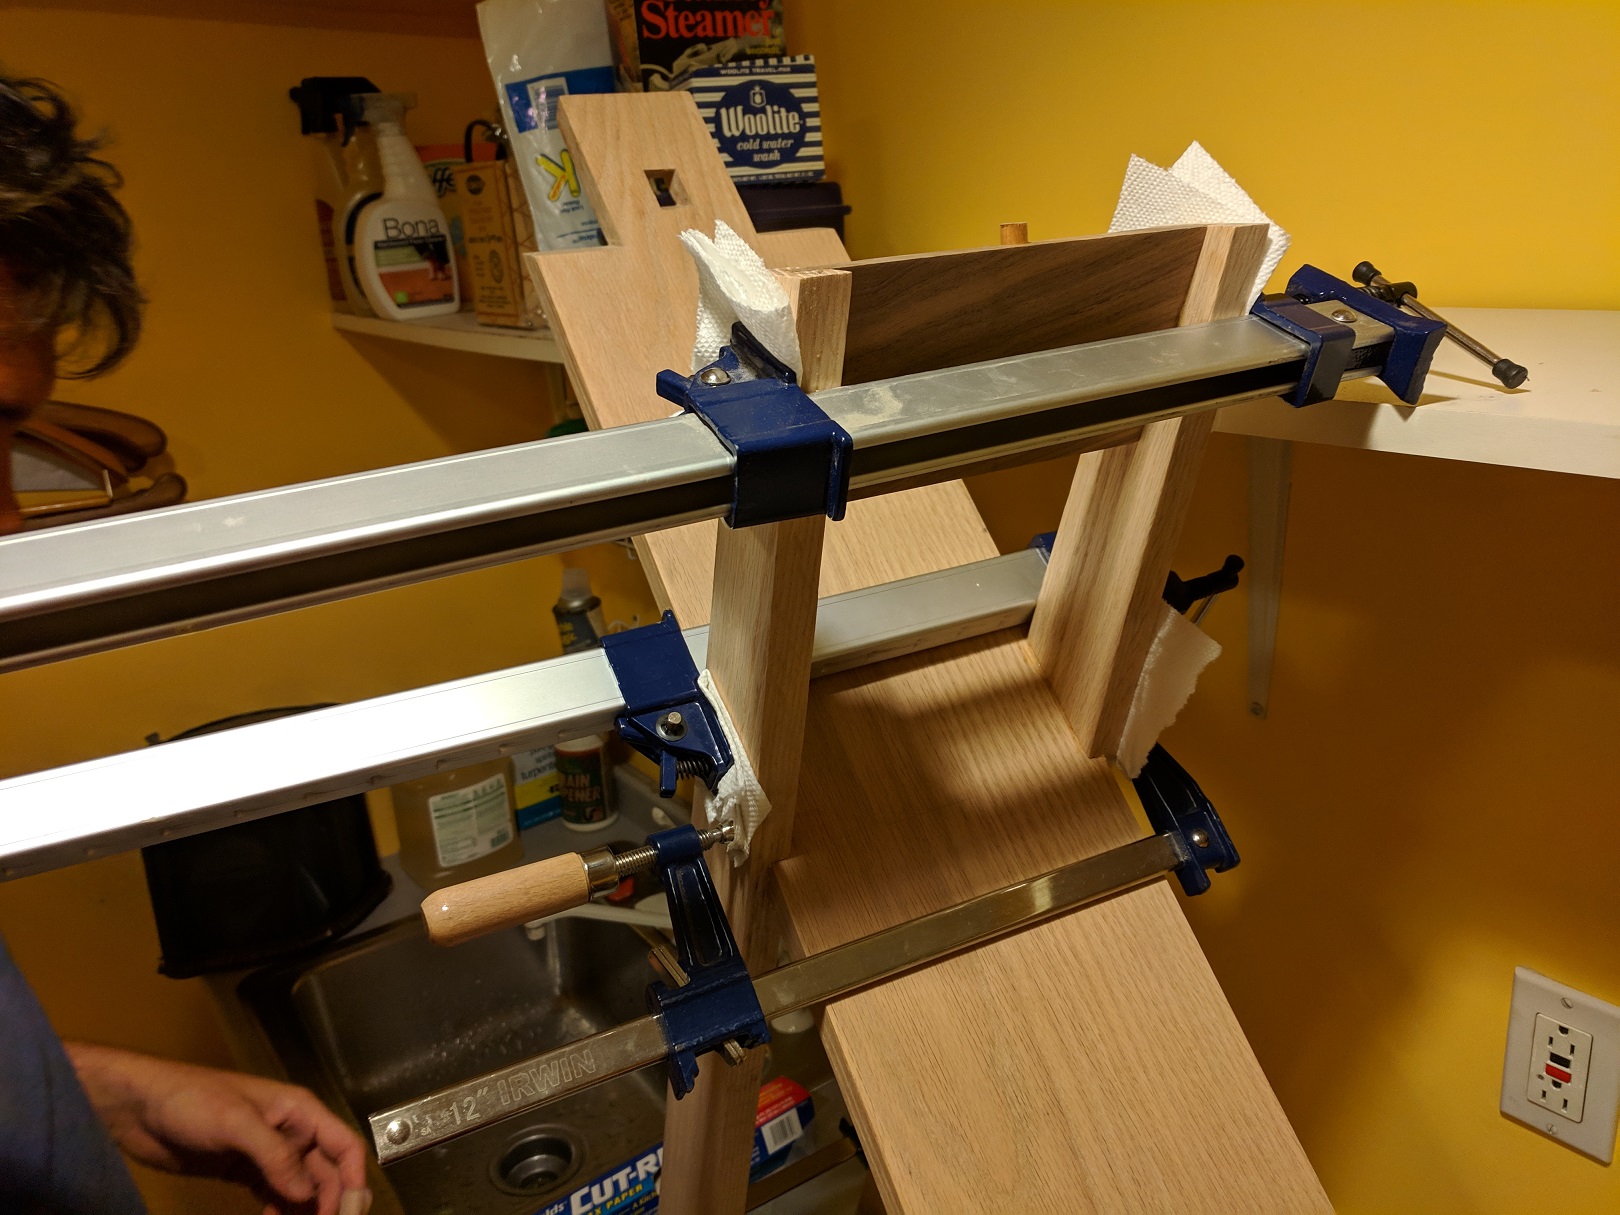
Next, we glued up the legs. Because the top was not glued to the legs, we added a pin between the top and the upper stretcher to keep the top from sliding around. We cut an angled peg for top by eye out of walnut.
Finally, we sanded everything and applied finishing wax.
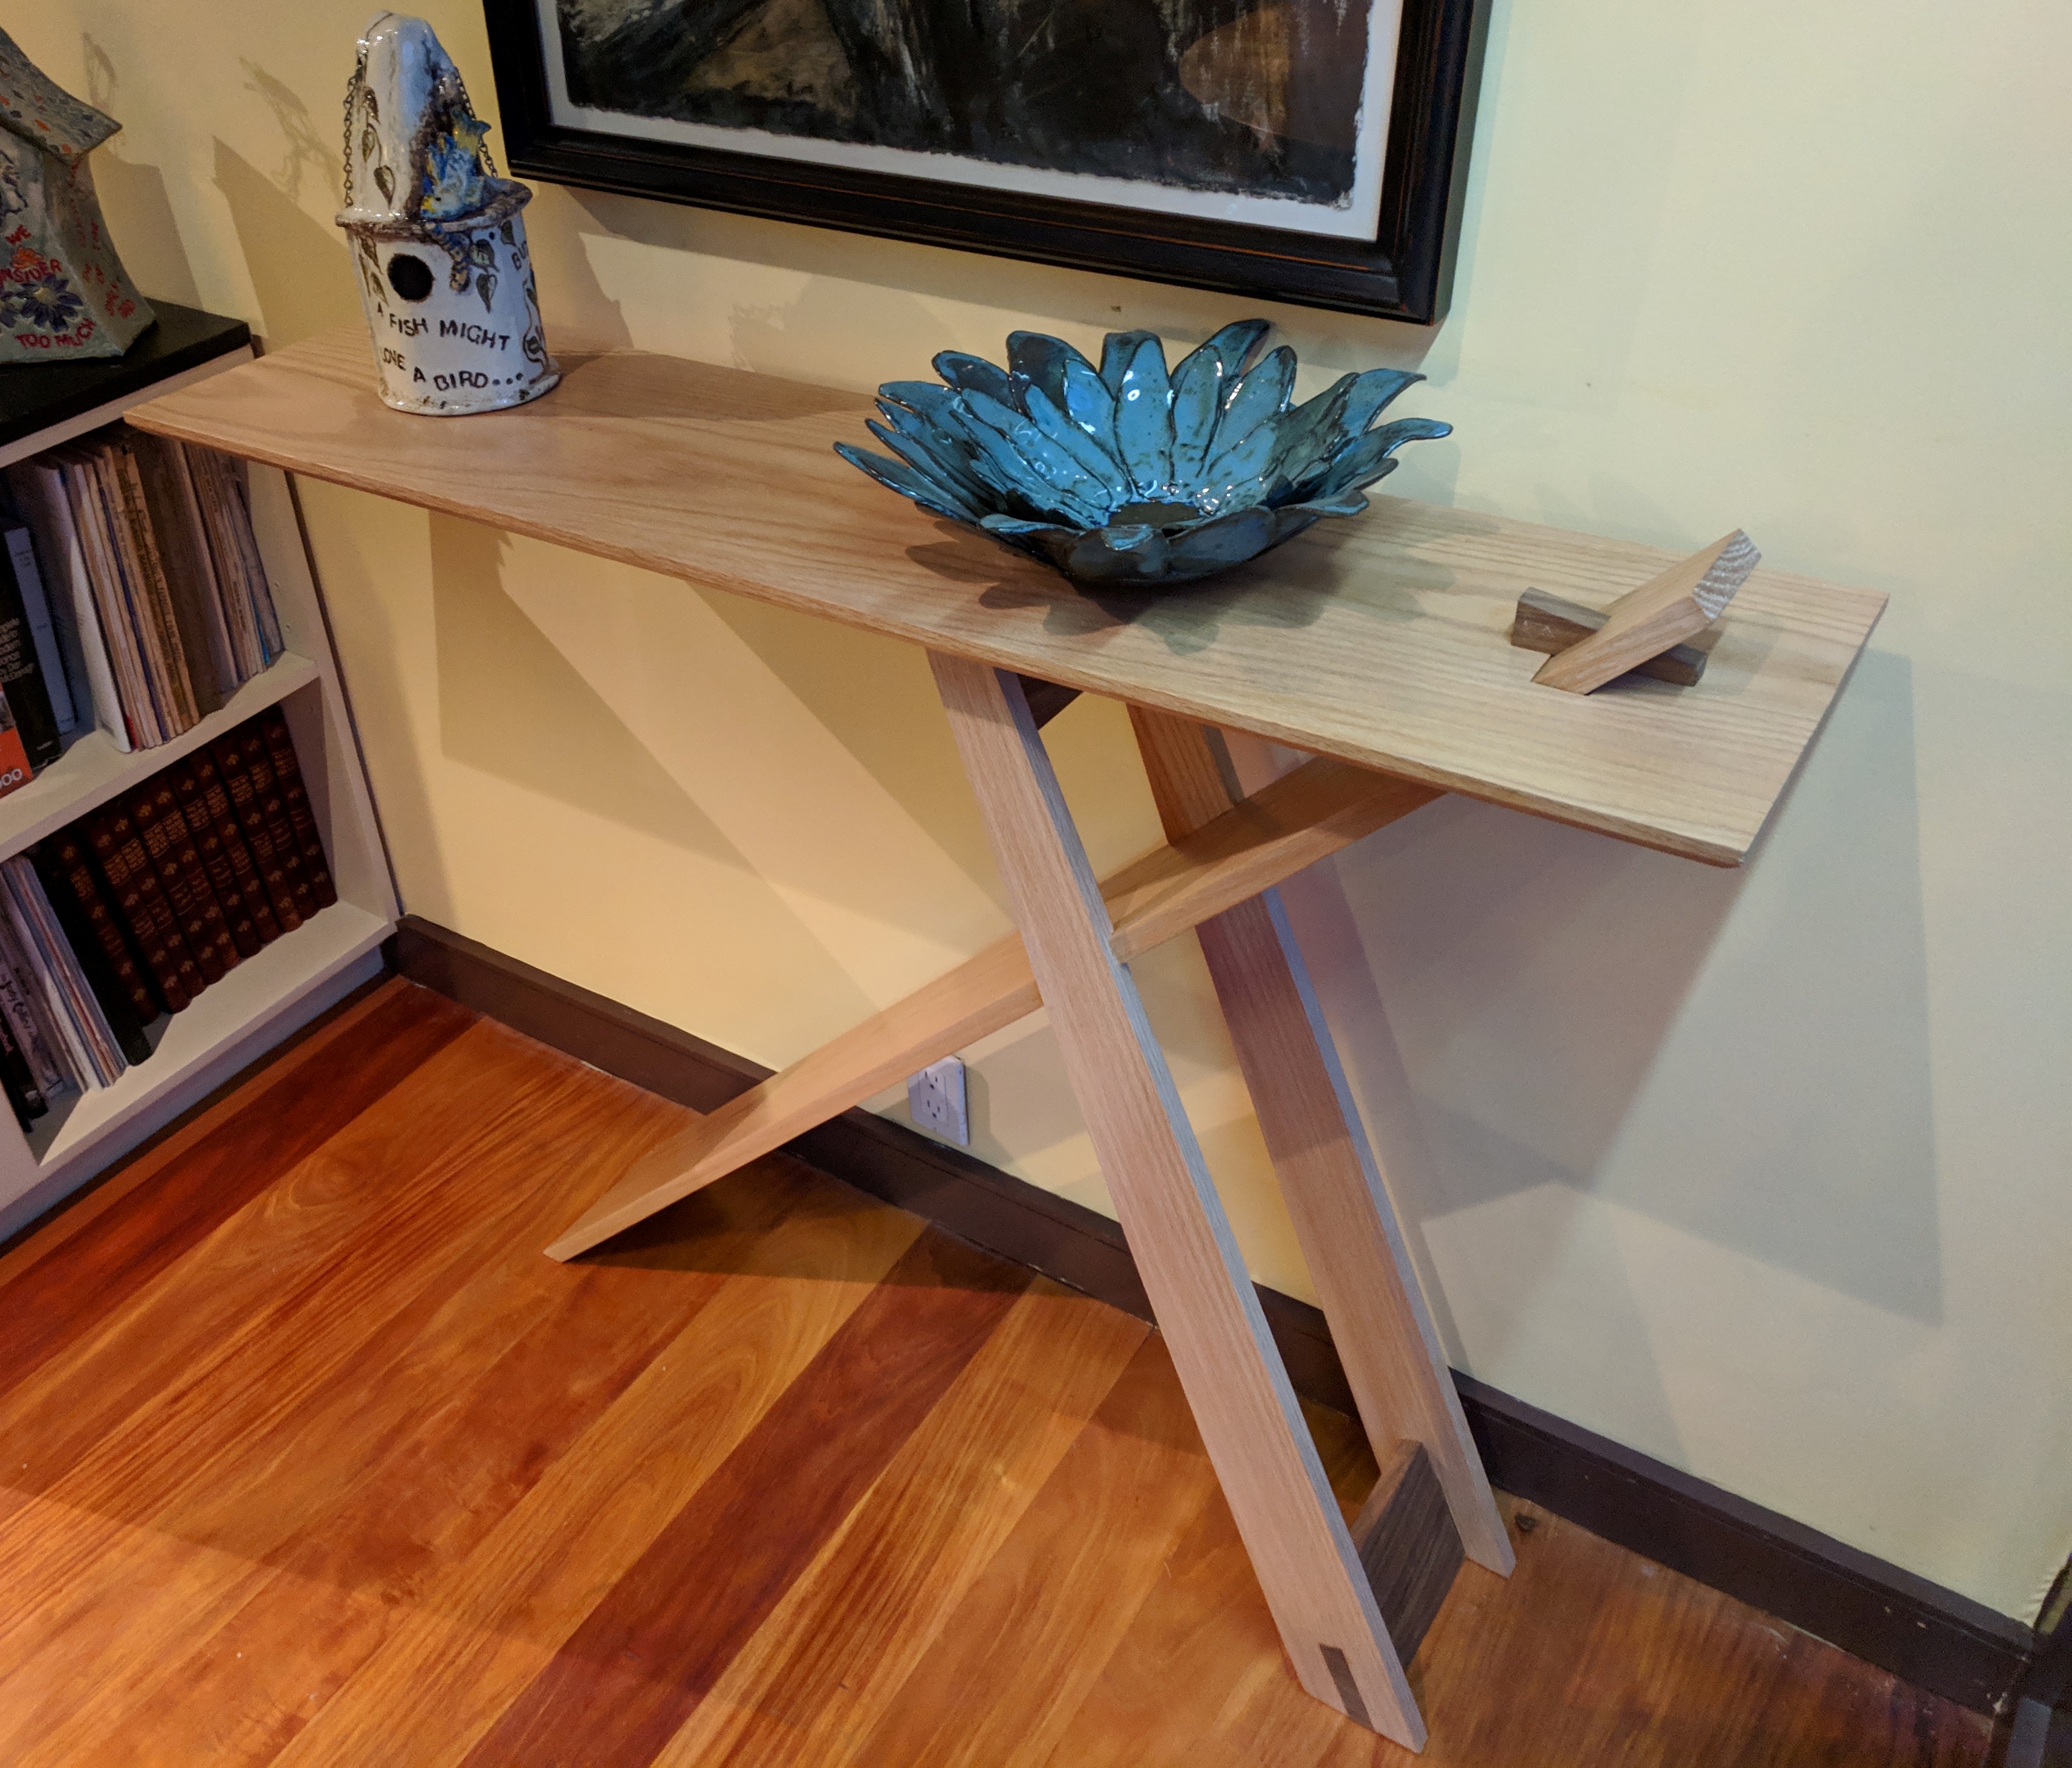
Came out pretty good, I think.