You've Reached the Center of the Internet
It's a blog
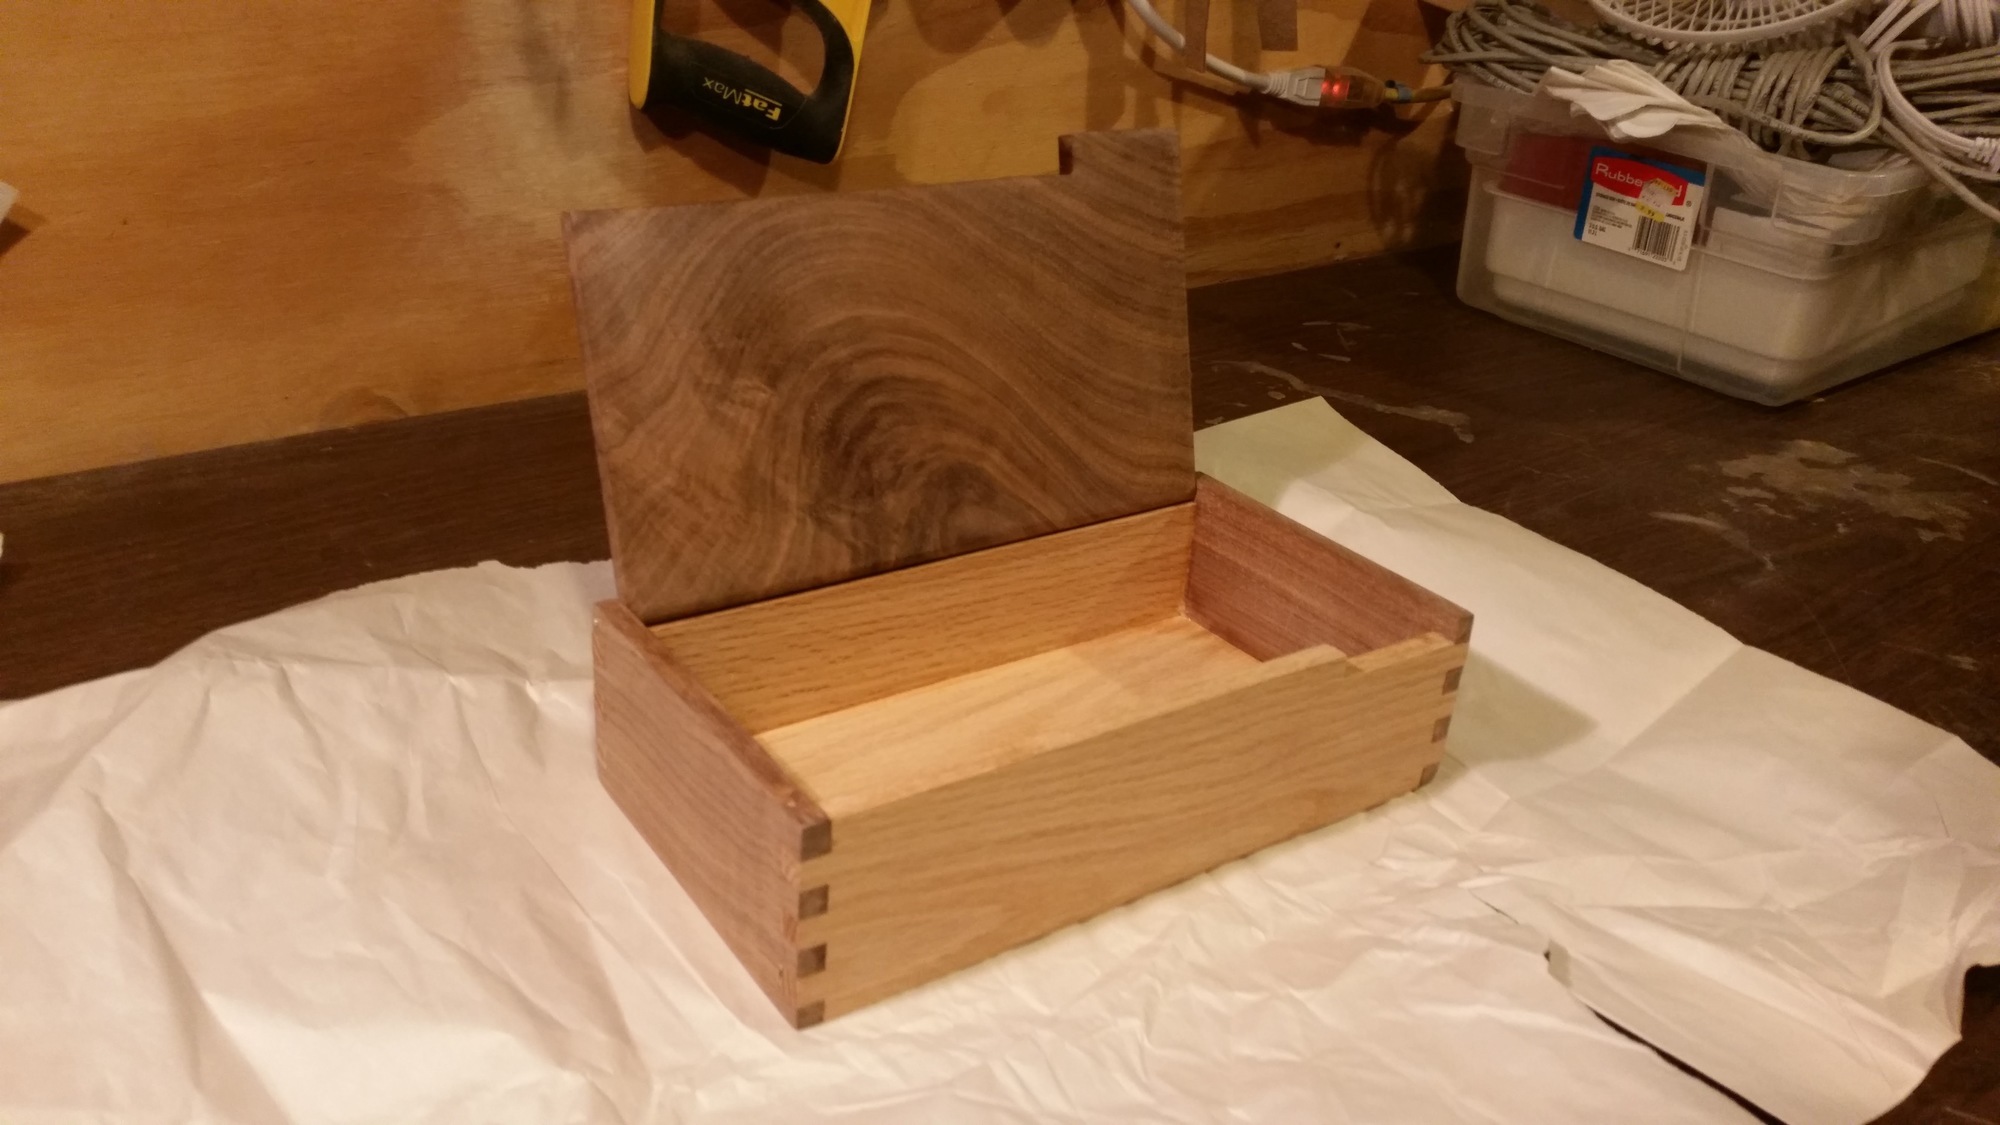
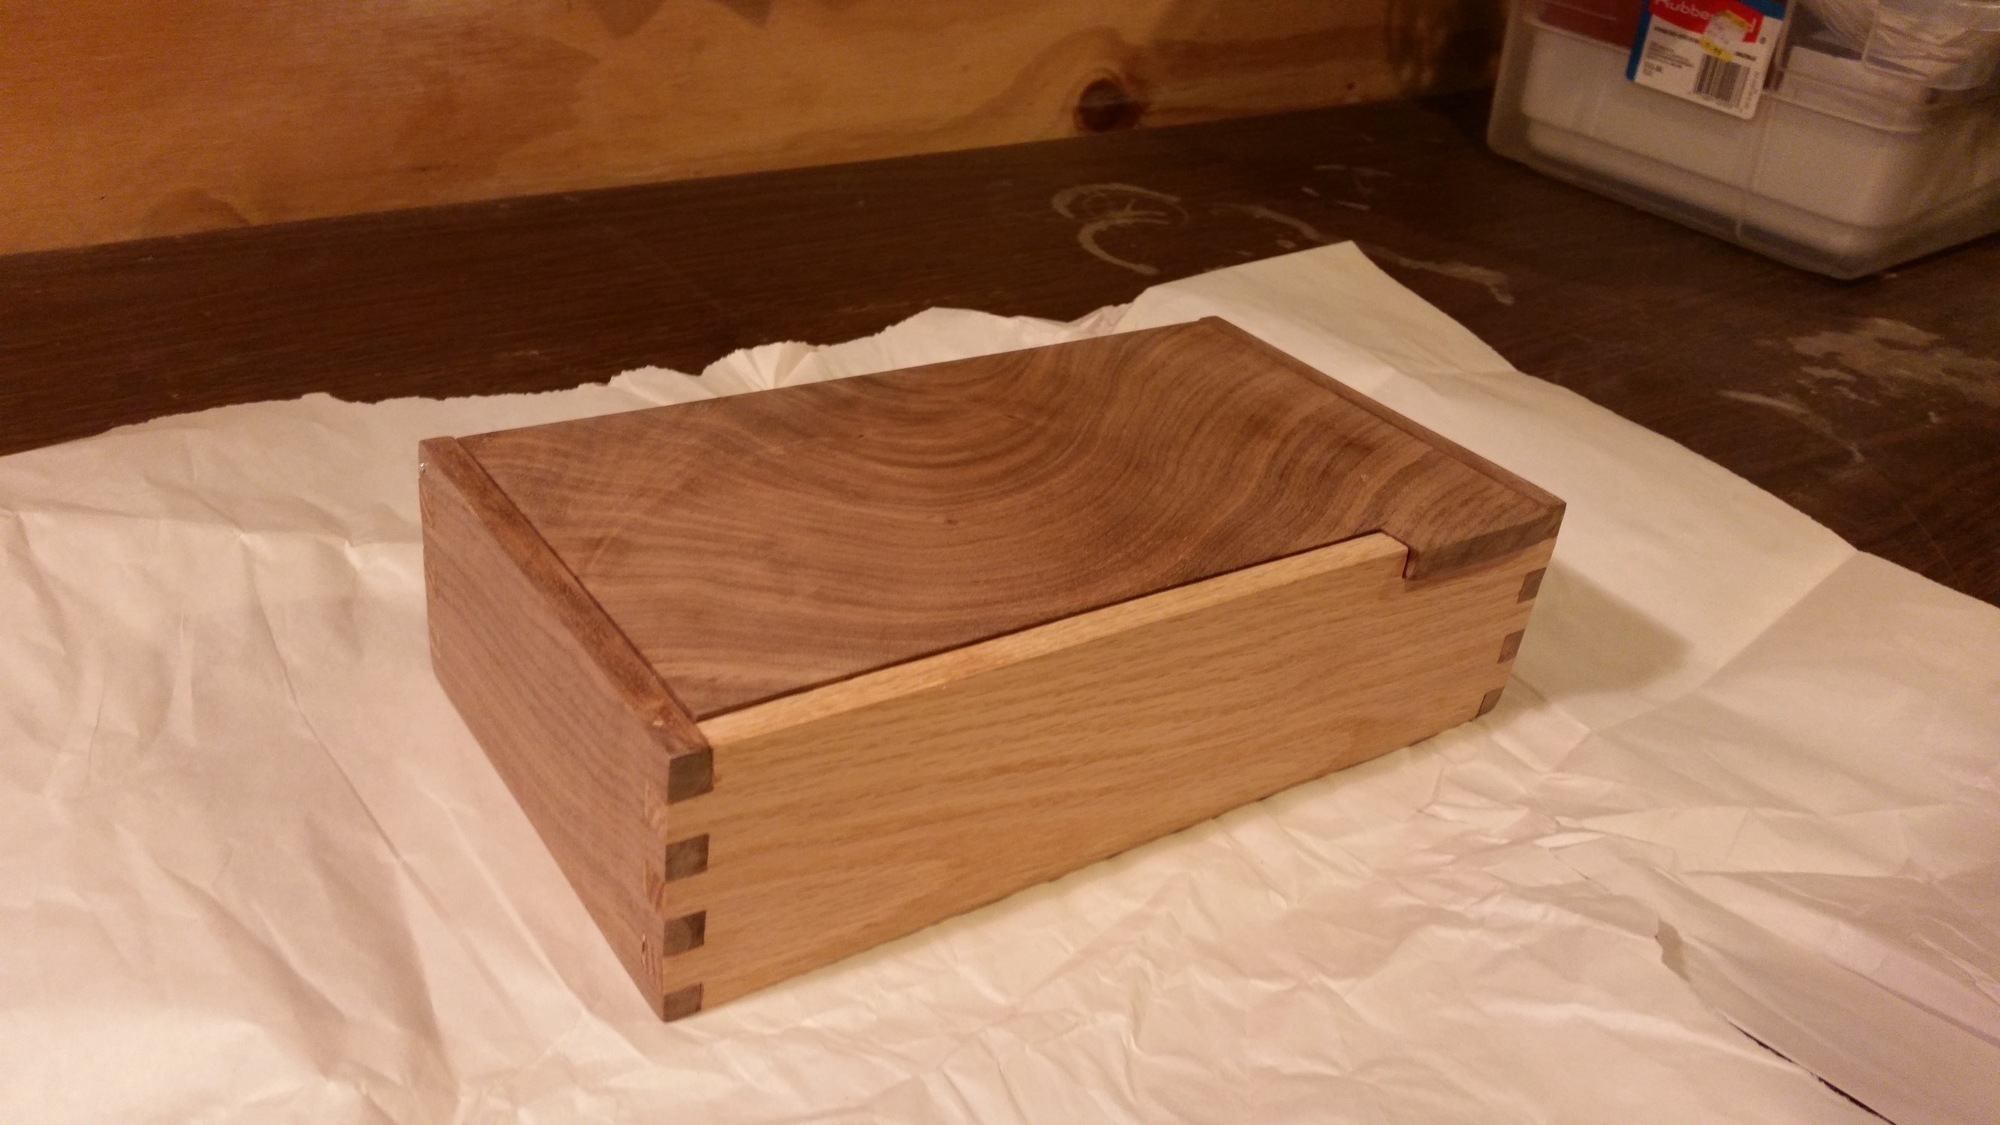
Jewelry Box
Over Thanksgiving, Matt and I made a jewelry box. It's 5-3/8" by 10-3/4", made of walnut and oak with a hinged lid and finger joint corners. Here's how we did it.
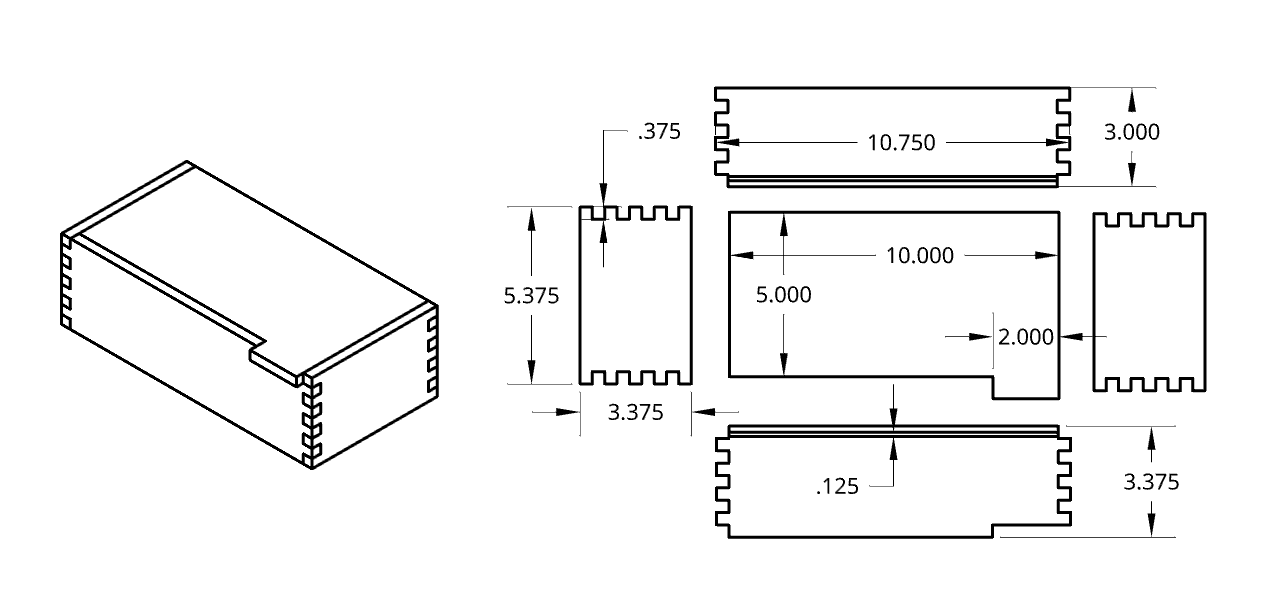
Below are the basic plans.
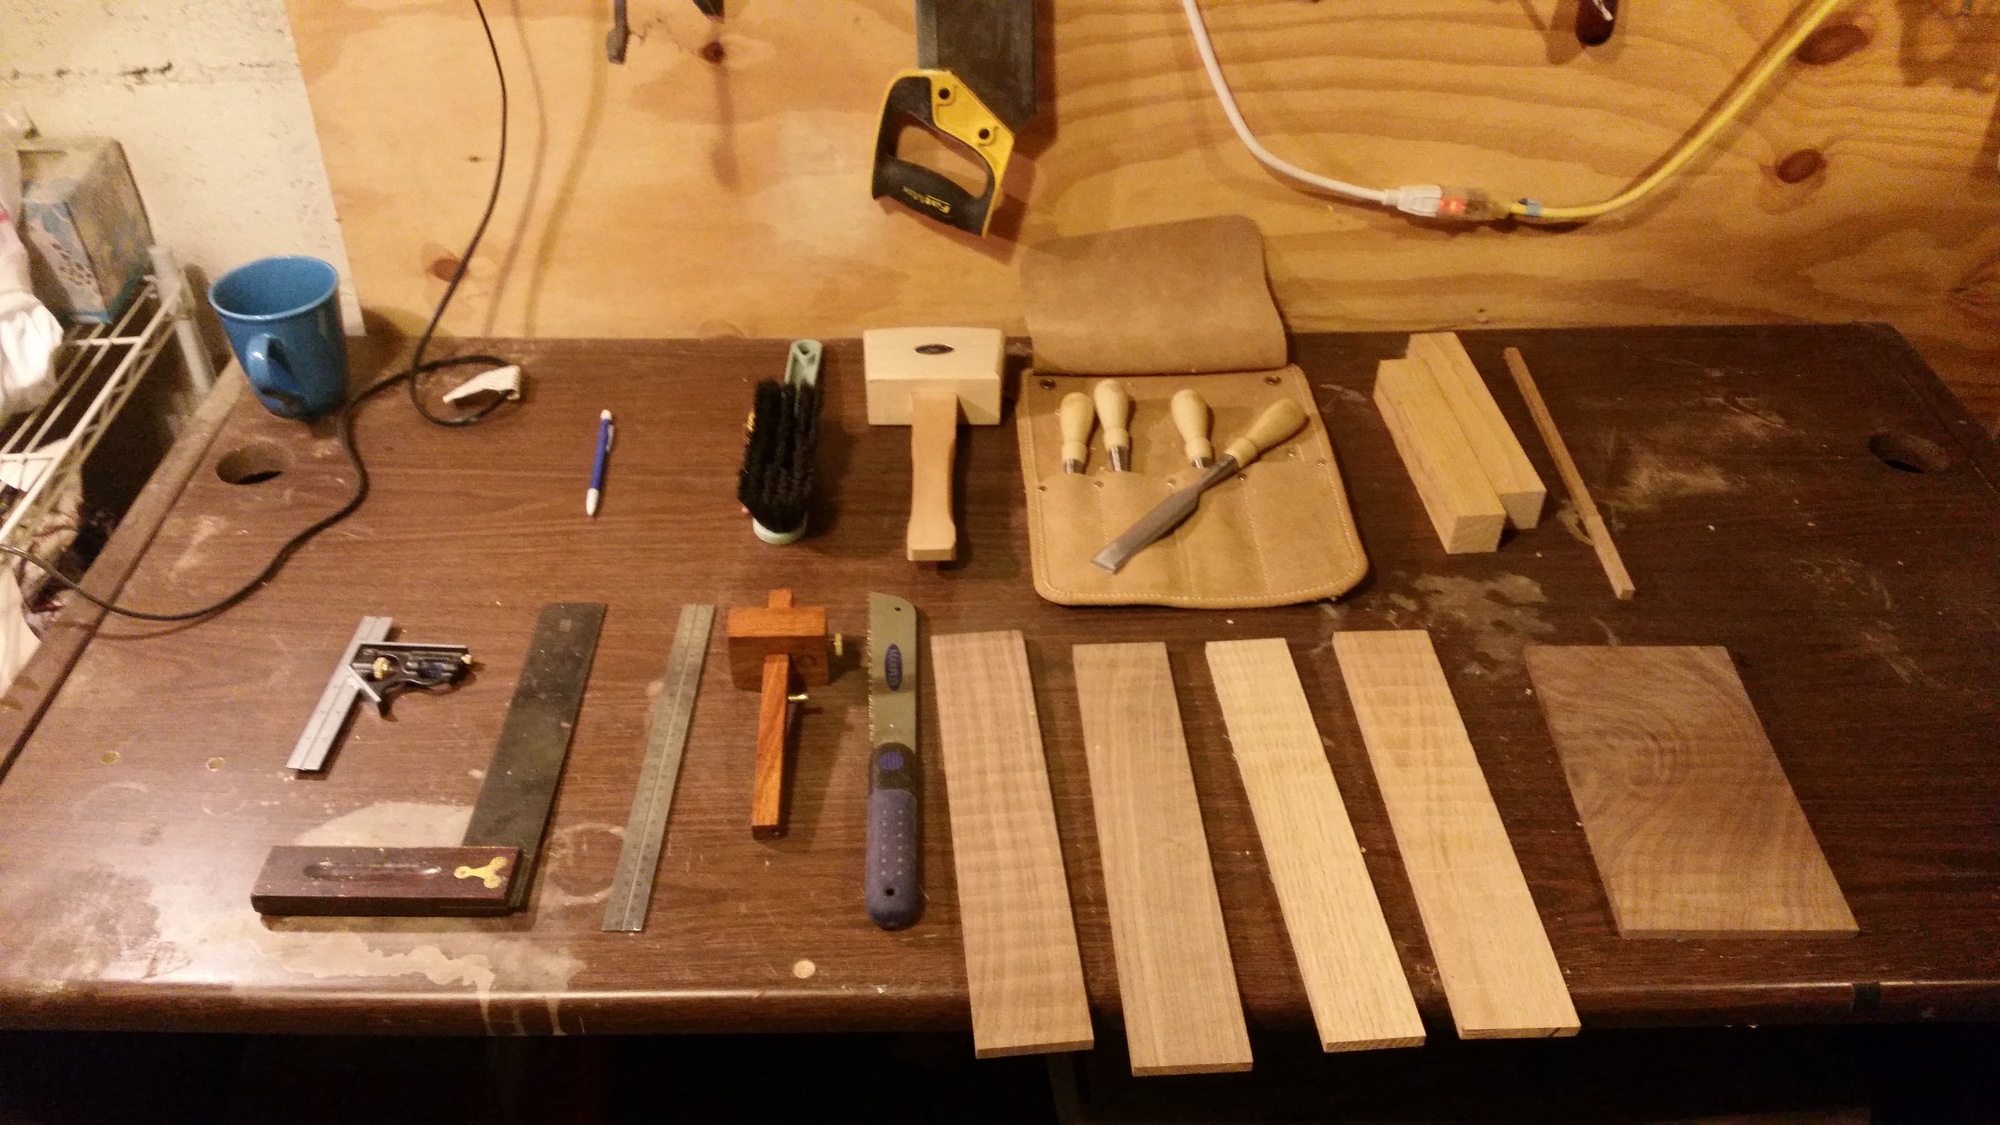
We started by using our new planer to thin some 1" nominal oak and walnut boards down to 3/8".
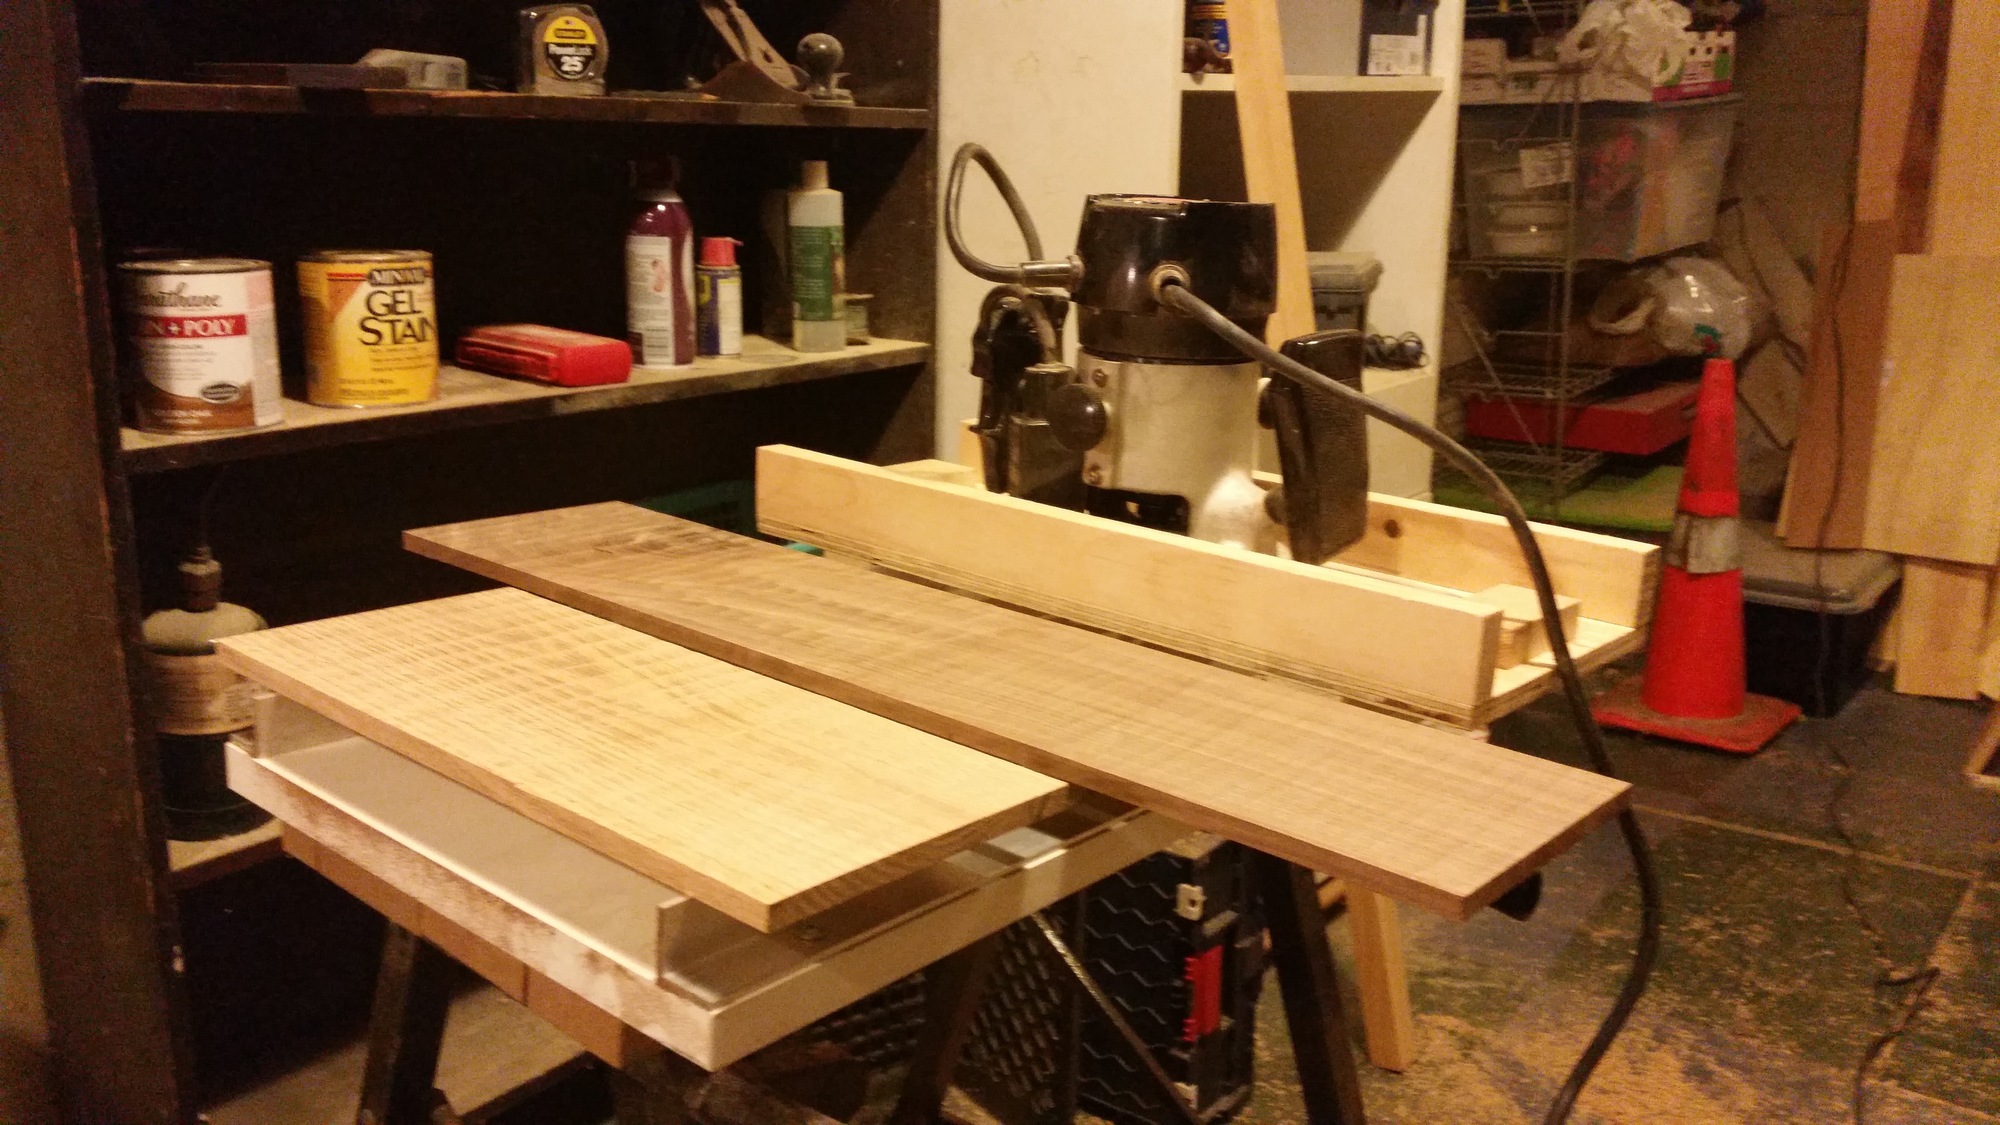
Using the table saw, we ripped them to their final widths of 3-3/8" for the front and sides or 3" for the back.
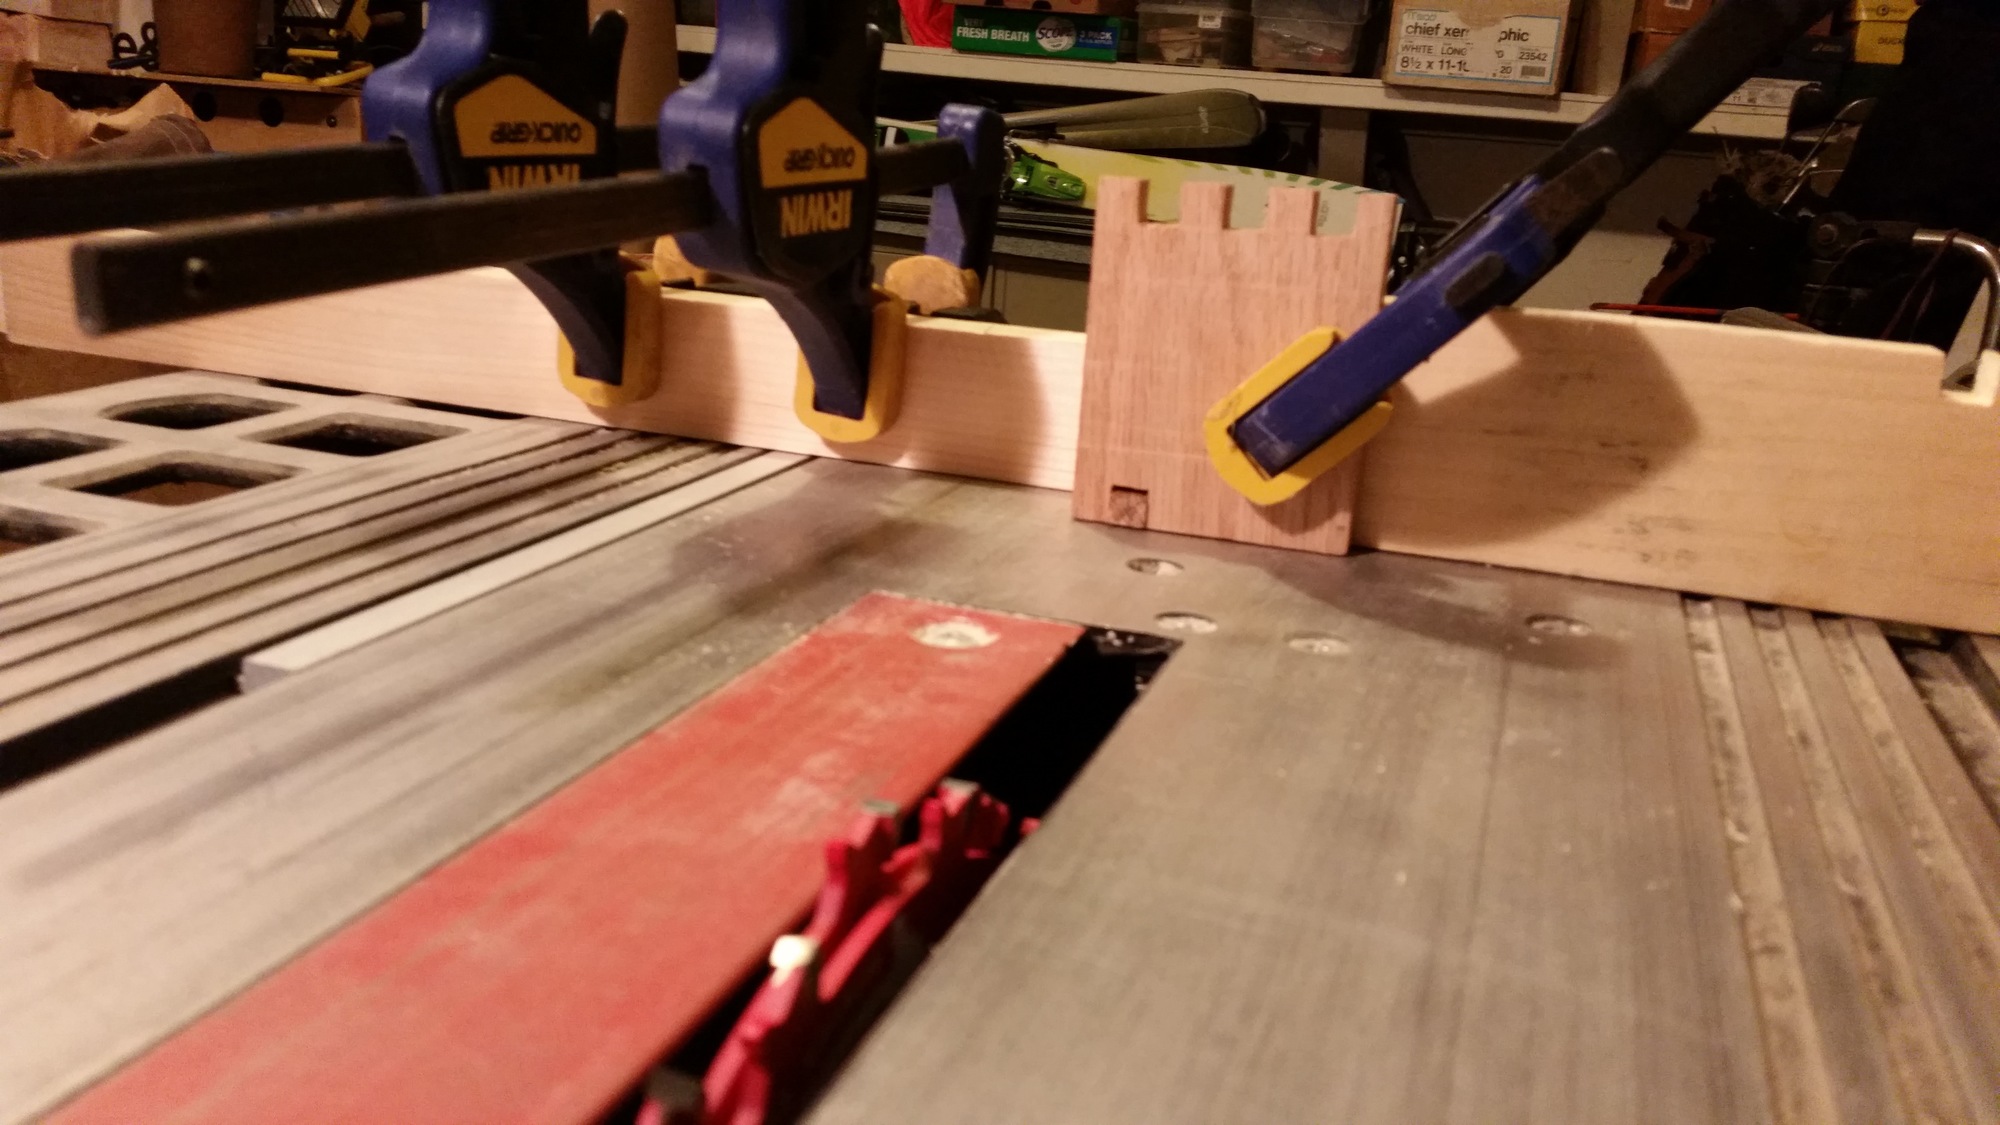
We cut them to their final lengths and then got to work on the finger joints. We used a clever jig to make accurate finger joints. You can see how it works in this video It requires a dado stack and an accurately cut square peg. It took us some time to lock in the precise width of the dado stack by adding and removing shims.
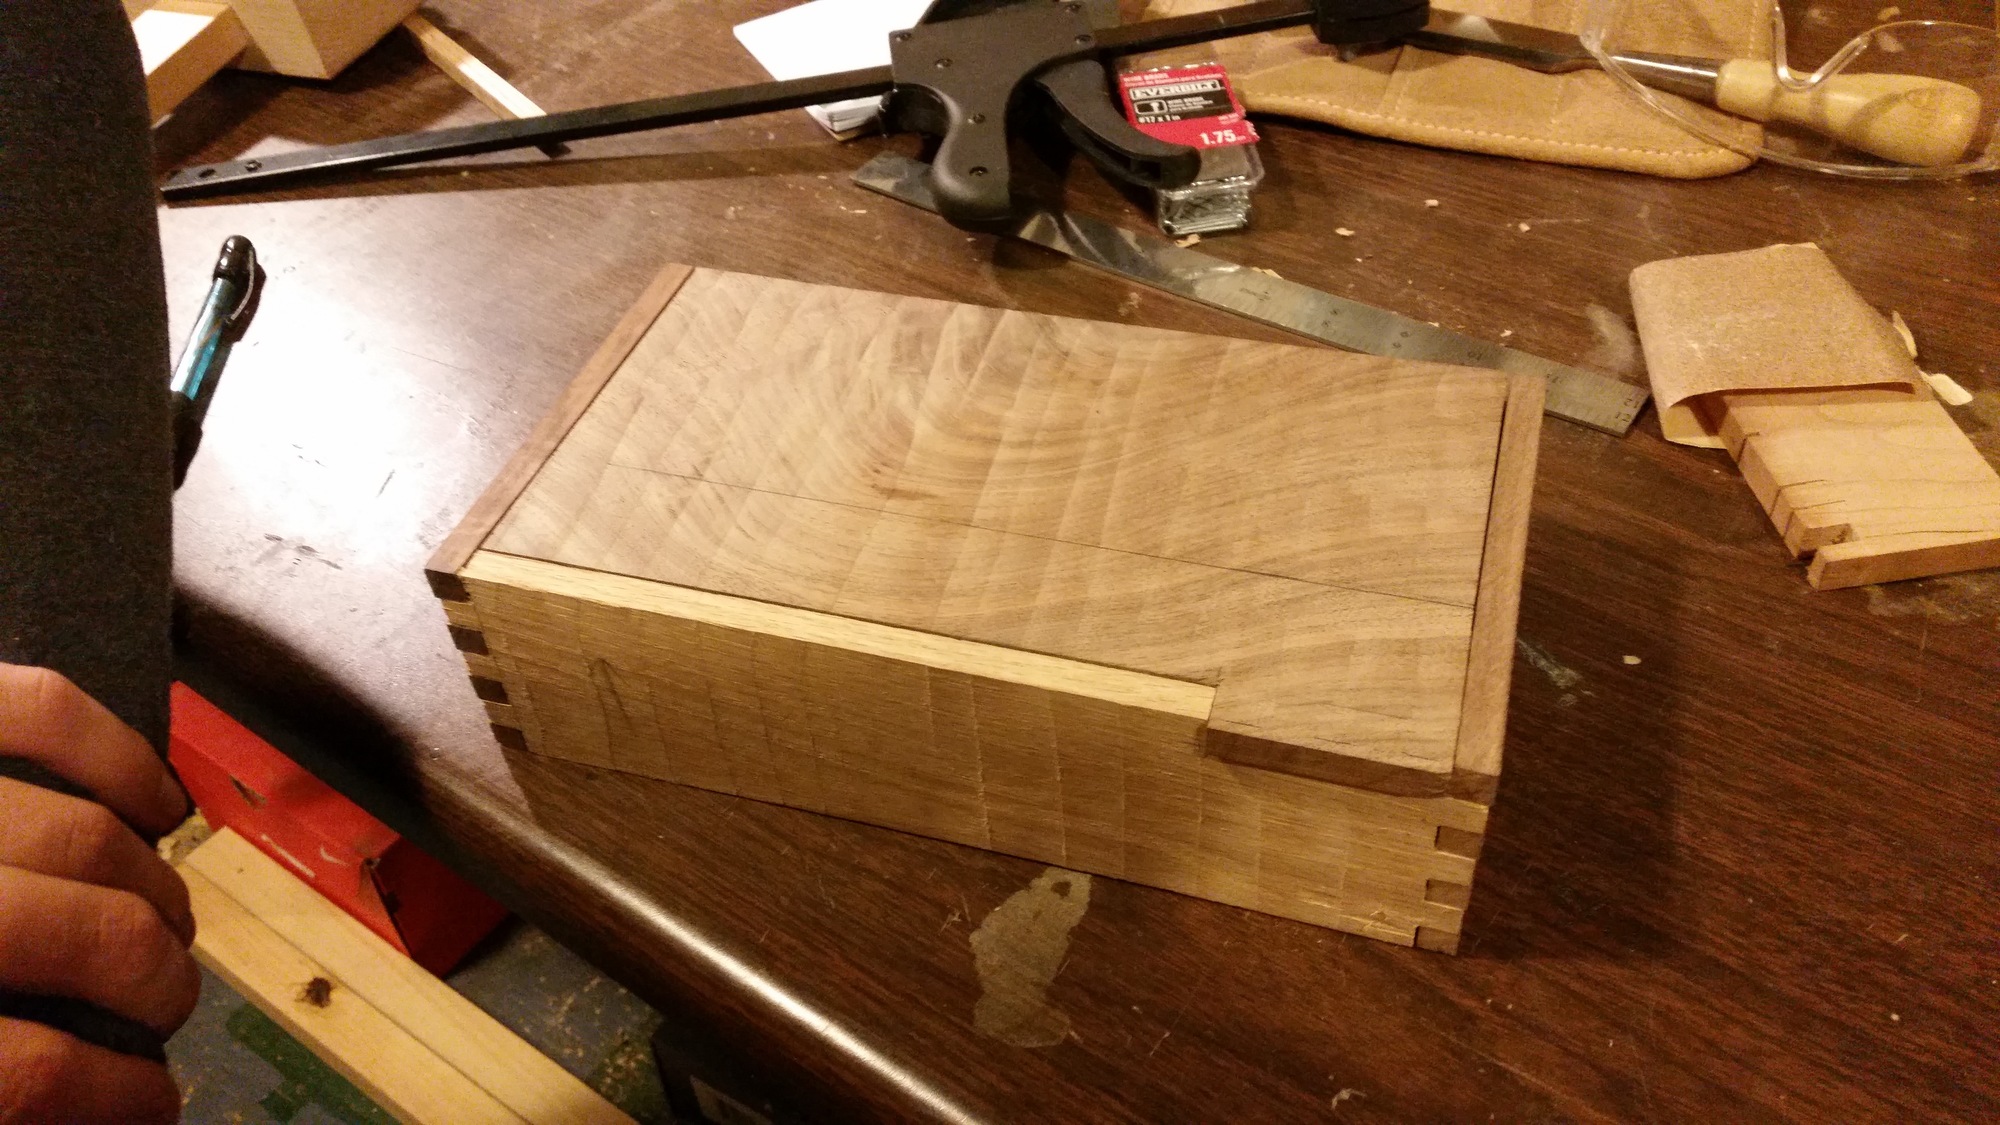
We cut the lid to size using the table saw for the basic shape. We used a jig saw to create the tab. We then cut a notch into the front piece to make way for the tab. For the bottom, we cut a 1/8" thick piece of oak to 10" by 5-3/4" and cut slots in the front and back panels for the bottom. Then we made sure everything fit.
We sanded all the panels with 80 and 200 grit sand paper, then glued it up and clamped it in place.
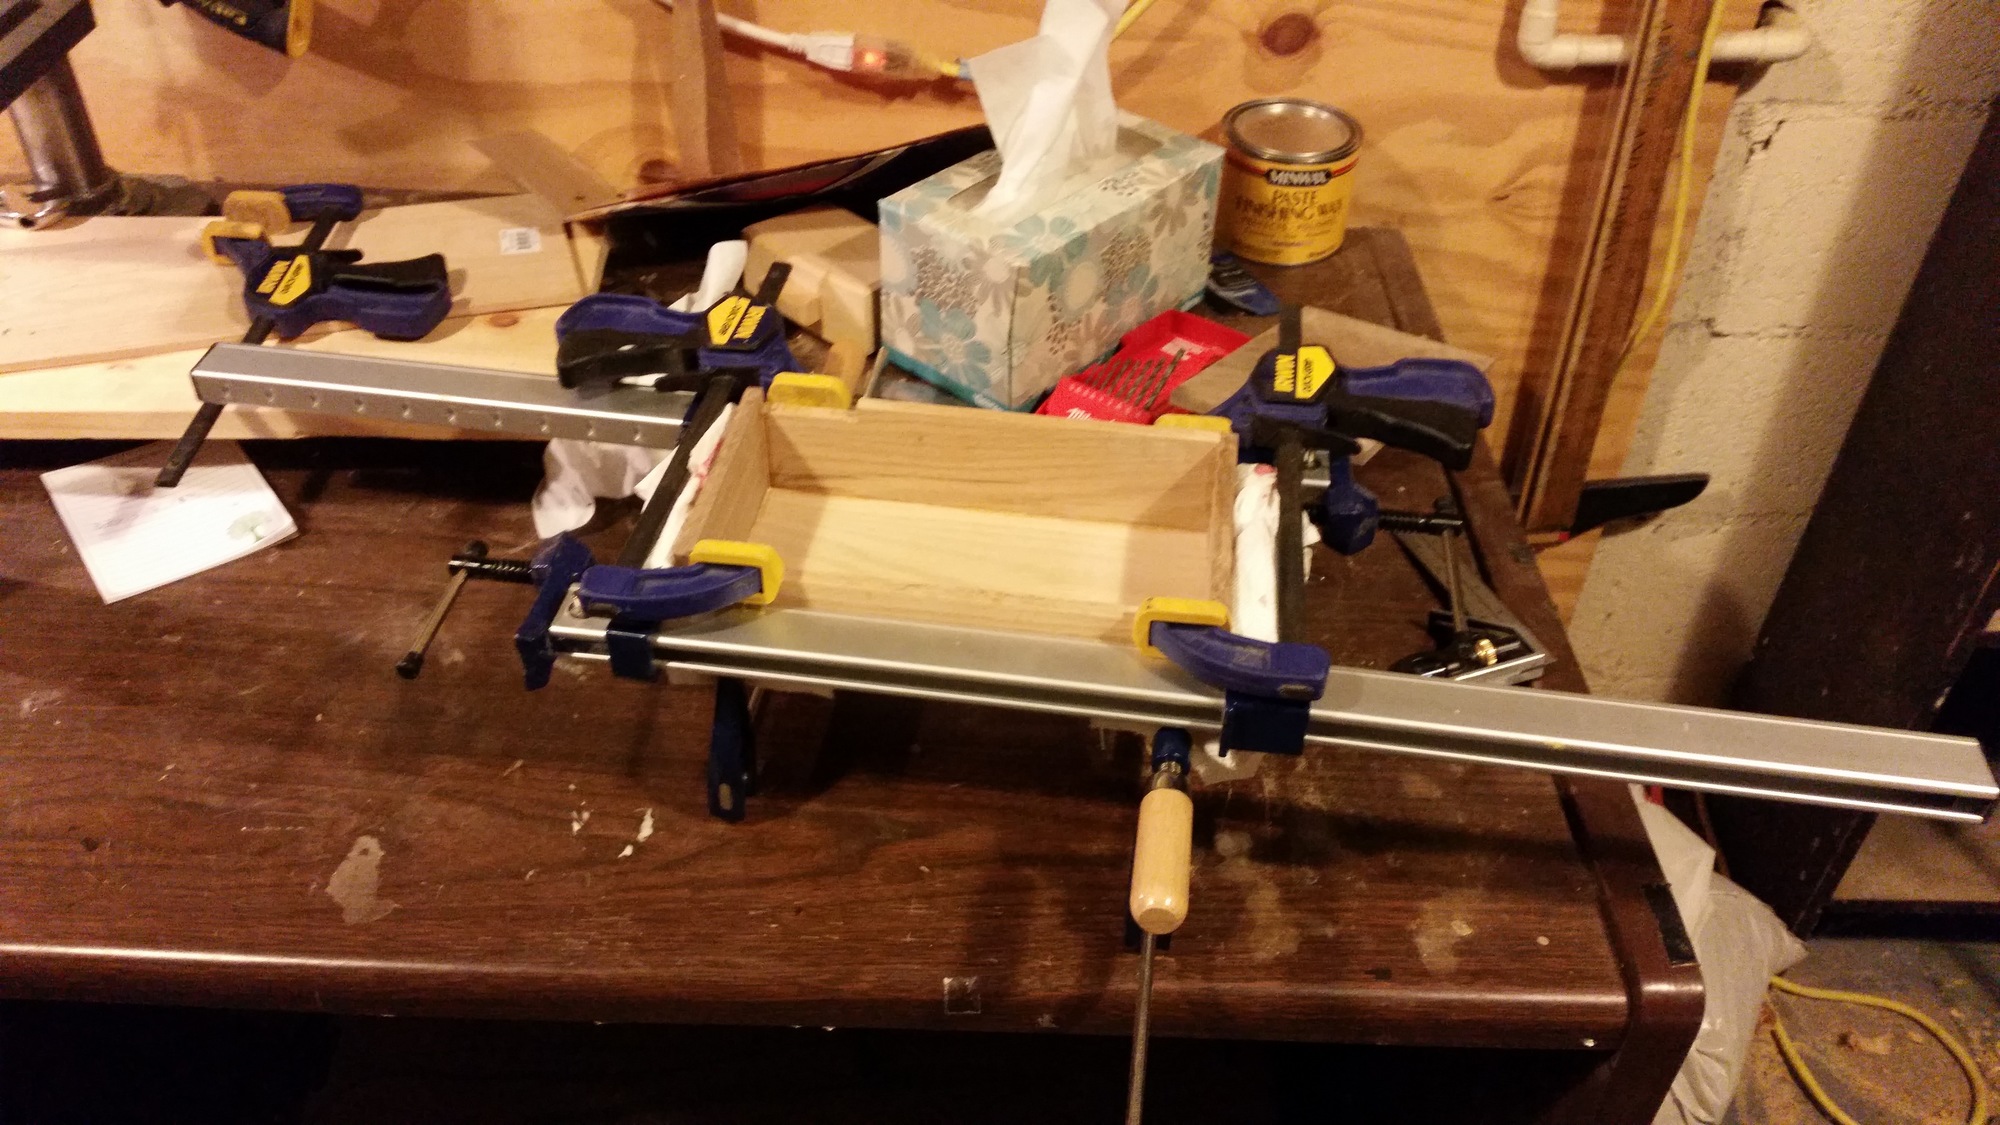
We gave it a final sanding and then rubbed some finishing wax into the wood to protect it.